Paint A Funky Flowers Frame
Did you know that National Sisterhood Day is August 1st? I thought it would be fun to celebrate all my amazing Tribe Sisters with a gorgeous giftable project.
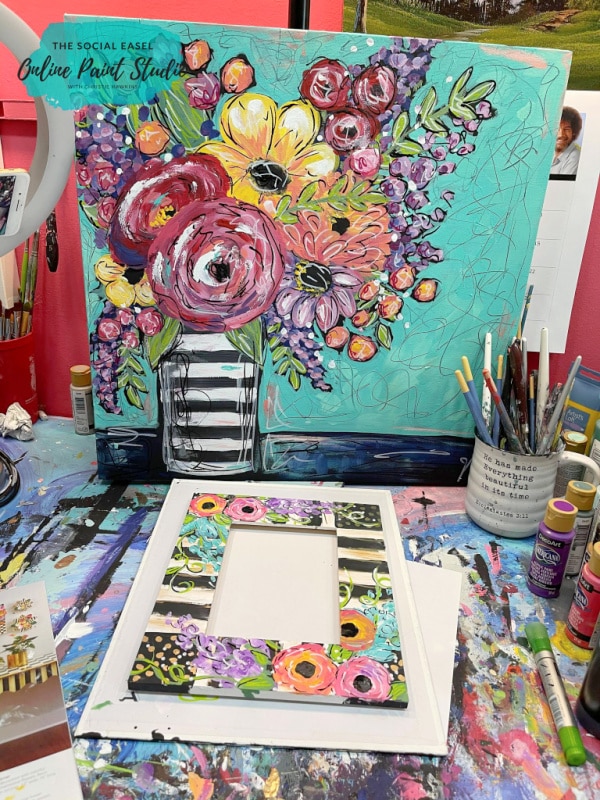
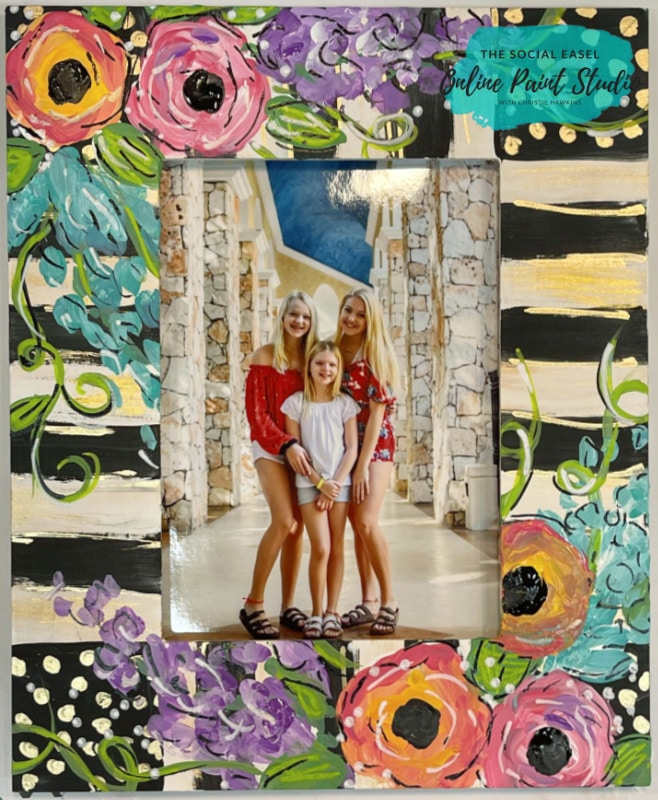
Not too long ago, we painted a wood frame inspired by MacKenzie Childs Live on my FB Page. I thought these funky flower frames would be so cute with a picture of you and anyone from your inner circle and given as a gift!
* This post may contain affiliate links. If you purchase, I could make a small commission at no charge to you. Please read my Disclaimer and Privacy Policy HERE.

Painting frames is a fun project for anyone! Kids and even teens can have fun customizing their own little piece of home decor and giving it to someone special. National Friendship Day is July 31st, so we will have that covered too 🙂
While painting these funky flower frames, I did pull out a few of my favorite paint pens and a high-gloss varnish, but you don’t need to do all those things. I am sure you have most of the supplies you need to have a fun afternoon painting with your kids and grandkids. All you need is an inexpensive wood craft frame.
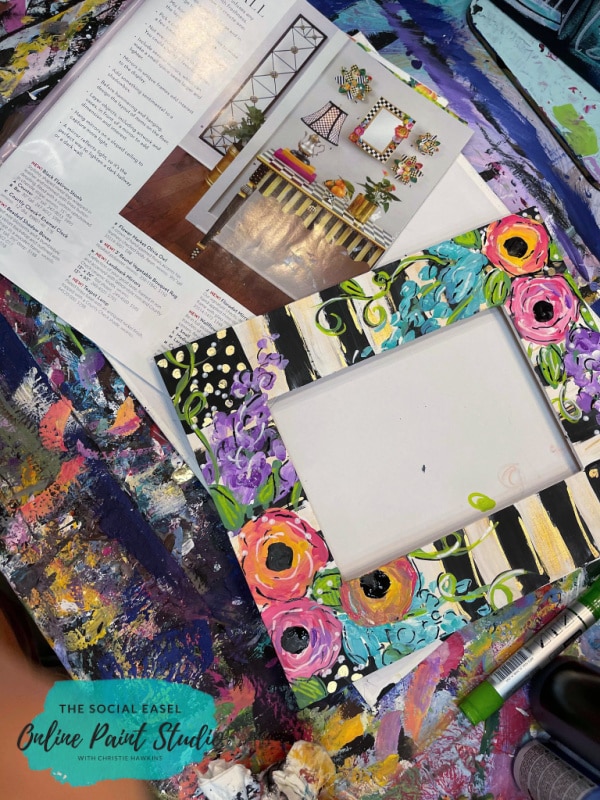
I purchased my frame on clearance and had been waiting to create something special with it. I just didn’t know what.
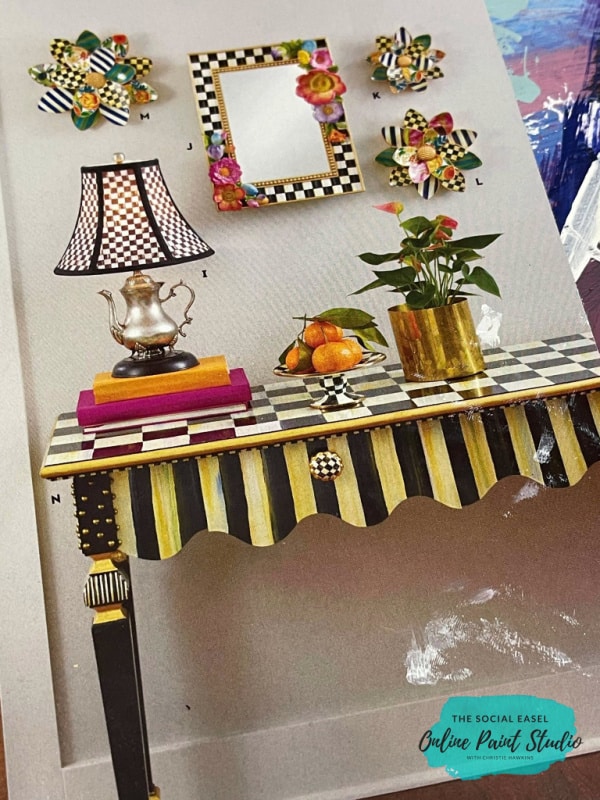
Then, I received a MacKenzie Childs magazine that was full of inspiration! Her style is so whimsical, colorful, and fun! Black and white stripes, layers of vibrant flowers, and a bit of gold. I love it and thought it would be perfect for the frame!
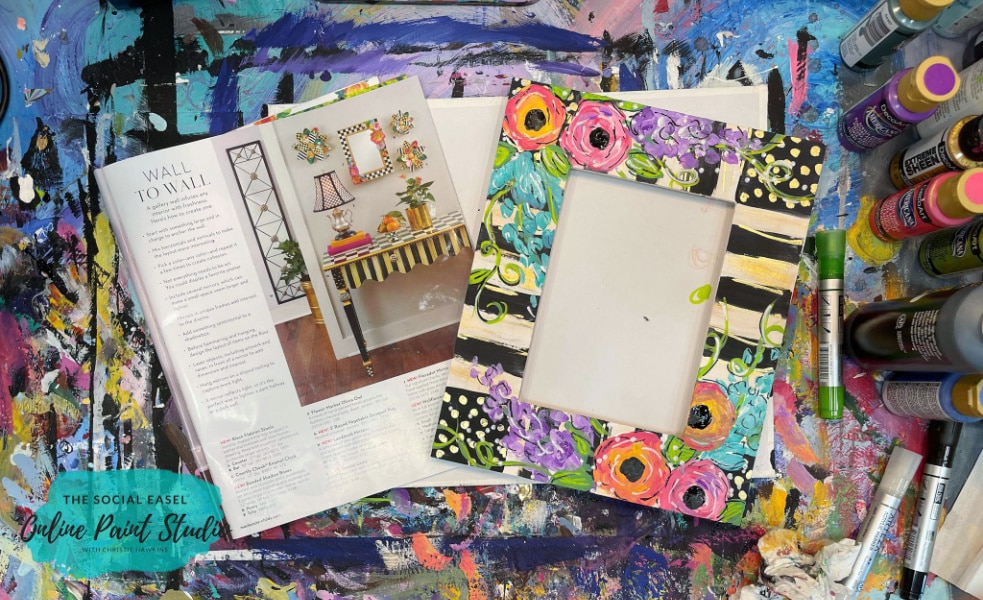
In her work, she uses bold black and white stripes and checks. I really love how the colorful flowers pop off them, but if you don’t want stripes on your DIY painted frame, any solid color would be perfect too. Just make sure to choose one that will show in contrast to the colors you use in your flowers.
Materials Mentioned
- Arteza Acrylic Paint Pens in Black, White, and Lime Green
- Acrylic Paints in Dragon Fruit (hot pink),Blue Harbor, Teal, Yellow, Purple, Lime Green, White, Black, and Deco Art 24 Carrot Gold
- NicPro #7 Round Paint Brushes
- 1″ Flat Brush
- Fine Liner Brush
- Wood Craft Frame
- Gold Paint Pen
- Deco Art Duraclear High Gloss Varnish
Base Coat
First, I removed the glass from my frame to keep everything clean without needing to tape anything off. Then, paint the entire frame white. This may take two coats to get the coverage you want.
It doesn’t have to be opaque white. I am not stressing if some of the yellow tone of the wood pops through. If you take a closer look at the inspiration photo, you will see some warm gold tones running through the whites.
Make sure you get around all those edges of the frame. The raw wood soaks up the paint relatively fast, so you can add the second coat almost immediately.
Just make sure your paint is dry between layers. Otherwise, it gets thick and gloppy. Keep an eye out for any drips along the way.
To give it even more of a Mackenzie look, I dip the edge of my brush into just a little bit of Deco Art 24 Carrot Gold and lightly blend it into the wet white paint using strokes in the direction my stipes will be.

The plan for my frame is to have solid black corners and stripes along the sides.
Painting Whimiscal Black Stripes
Once your white and gold is dry, it is time to start making those bold stripes. I am not trying to make these black lines perfect! I am just freehanding to keep with the whimsical look.
First, paint the corners solid black. Just line the edge up with the corner of the photo areas opening.
Next, paint the black stripes. I will be eye-balling it using the width of my 1″ brush as my guide. Carry them over the edge of the frame as well.
In my eyes, handpainted is more fun. I like the little bit of streakiness in the stripes too, and I want to see the brushstrokes in the black.

You can choose if you want them more solid and tape the stripes off for a more crisp line. Keep in mind that flowers will be layered over the top, so if there is a spot you aren’t particularly liking, you can be more strategic with your placement.
You can always go back and add a little bit of white paint to redefine things. Remember, when working with acrylic paints, if there is anything you don’t like, all you have to do is let the paint dry, and you can paint over it.
More Gold!
At this point, I like the sheen in the whites but want a little more and top them off by brushing on a little more gold.
Once those black corners are dry, grab your favorite gold, and make tiny polka dots in them. You can use a fine liner brush, or an acrylic paint pen can make this part easy. This is my favorite gold paint pen because it is so metallic.

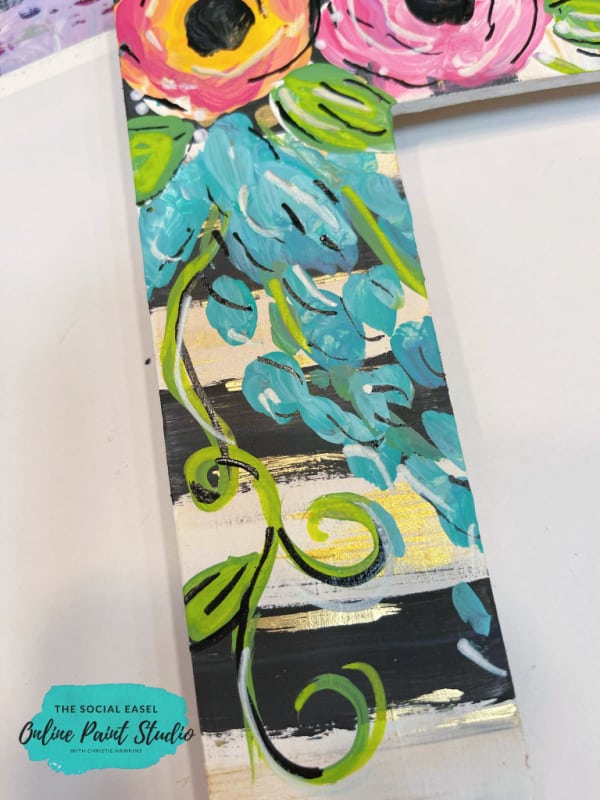
Of course, I go in and add a few quick gold lines in the stripes too. You can never have too much! This also makes it less noticeable that my black isn’t perfectly symmetrical all the way around.

The frame is already pretty cute! You could stop right here and have yourself a fun little gift.
Painting Funky Flowers on a Frame
Now we get to add funky flowers! Because I want the colors to pop, paint their shapes on the frame in white first. These are just blobs, not perfect circles.
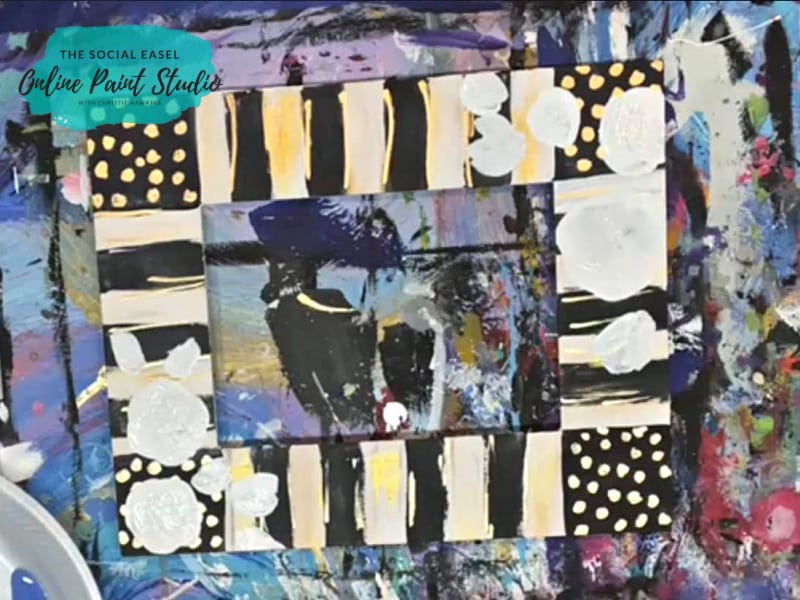
It’s looking a little crazy at this point, and you might be worried it isn’t even going to turn out, but you have to push through and trust the process.
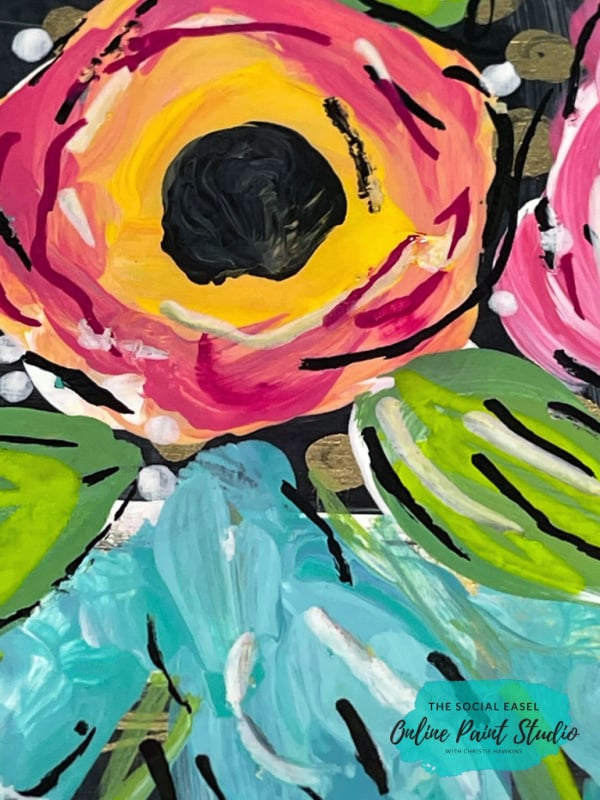
Next, paint your flowers in a few of your favorite colors. I like to drip my brush into two complimenting colors to create contrast and movement inside the blooms—just an easy way to create the illusion of multiple petals.

I love mixing color on my canvas like this. It is much more fun to play and create what you want than just sticking to what can come in a bottle.
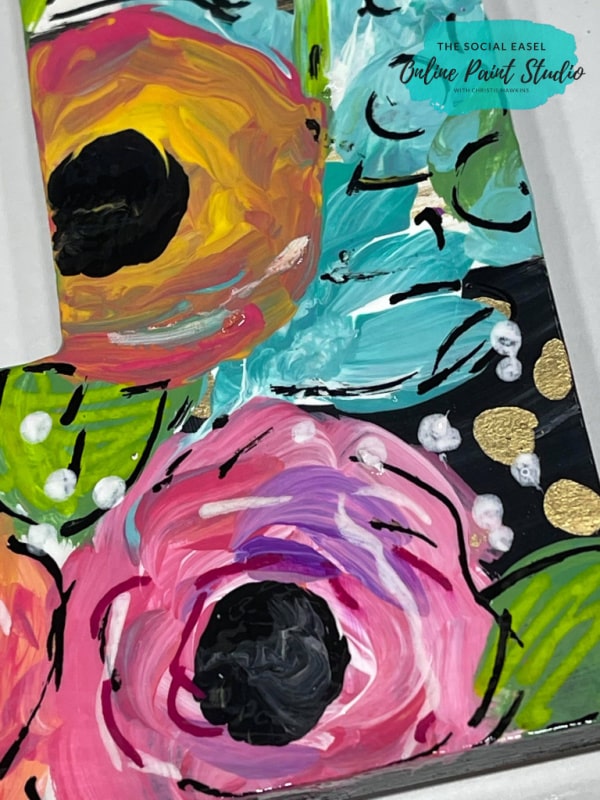
I have lots of flower painting tutorials on my blog! Check them out.
I don’t always have specific flowers I am painting. They are just kinda crazy “Christie flowers.”
You don’t have to stick to just covering your white blobs. I added extra leaves, curly vines, and small flowers as I was working to create the proper balance.

It’s all those little extras that pull it all together.
Finishing Details
This painted funky flowers frame is a little messy and full of whimsy. I like to add layers of sketch-like accent lines for added interest. You can add as little or as much as your heart desires.

You know how much I love my Arteza acrylic paint pens! I use them to add all those accent marks, but they would even be perfect for creating the vines and curly-cues instead of using your fine liner brush too.


You want to make sure you do this when the paint is dry, or it will ruin the tip of your paint pen.
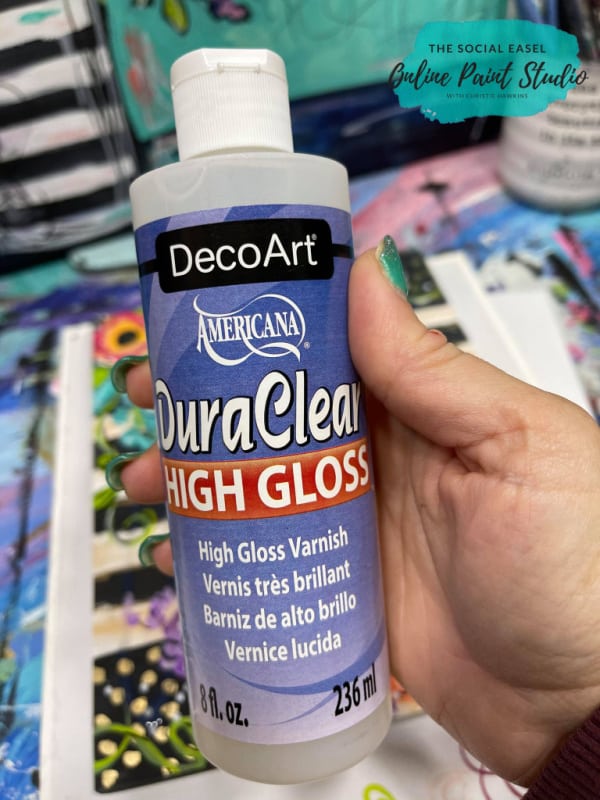

MacKenzie Childs work has a glossy finish but you can choose any finish you like! After everything is dry on my funky flowers frame, I apply a thin coat of DecoArt Duraclear high gloss varnish.
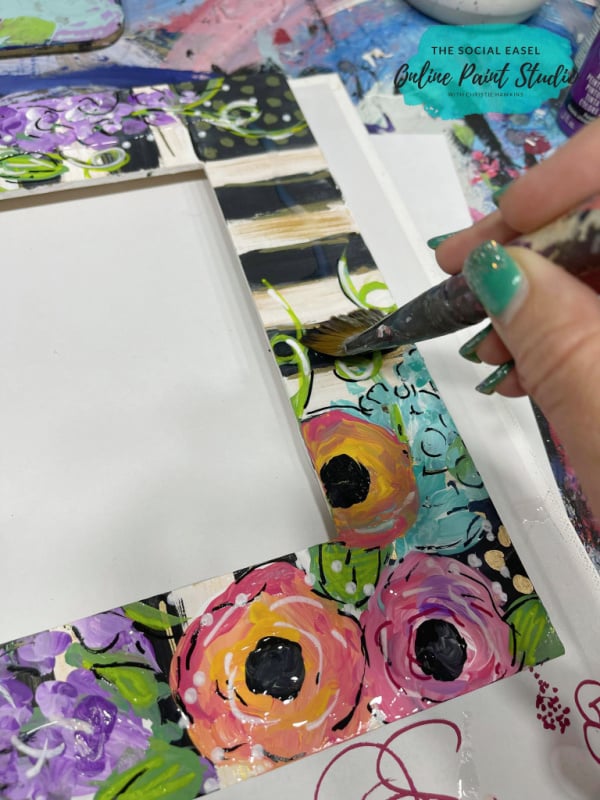
Watch the Full Funky Painted Frame Video Tutorial
The raw wood frame is basic no more! I love how whimsical it is and the high shine! The funky flowers frame compliments my Funky Spring Flowers painting perfectly.
I hope you try this out, I would love to see what you create. You can post it inside my Free Facebook Page.
Just imagine all the objects I could paint with the same funky style.

