Sunflower Palette Knife Tutorial
Painted sunflowers never looked prettier with this palette knife tutorial. The depth and texture created by this sunflower tutorial result in a beautiful art piece that is easy and fun.
* This post may contain affiliate links. If you purchase, I could make a small commission at no charge to you. Please read my Disclaimer and Privacy Policy HERE.

Painting a sunflower has never been as much fun as it is with this super simple palette knife painting tutorial. The way the flower petals lift off the canvas makes this painting come alive. In this tutorial, I will walk you through step-by-step how to achieve a gorgeous, textured sunflower painting that will leave others gasping and asking how you did it! With a little time and patience, this is a simple palette knife tutorial that leaves you with a gorgeous sunflower art piece.

Materials Mentioned
- Mixed Media Pad
- Paint Pallet
- Canvas
- Burlap Canvas
- Palette Knife Set
- Deco Art Acrylic Paints
- Heavy Bodied Acrylic Paints
- Heavy Gel Gloss
- Gel Medium
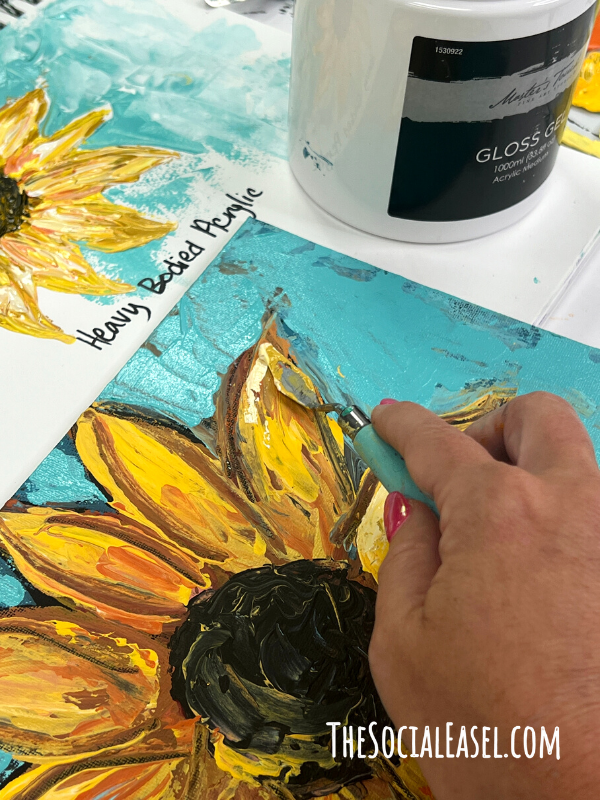
Impasto Style: Acrylic Paints vs. Heavy Bodied Acrylic Paints
You truly can do this painting impasto style with either regular craft acrylic paints or heavy-bodied acrylic paints. While heavy-bodied acrylic paints are already prepped and ready to give you that lifted, textured paint, you can get the same effect with acrylic paints by simply adding a gel medium to the paint.

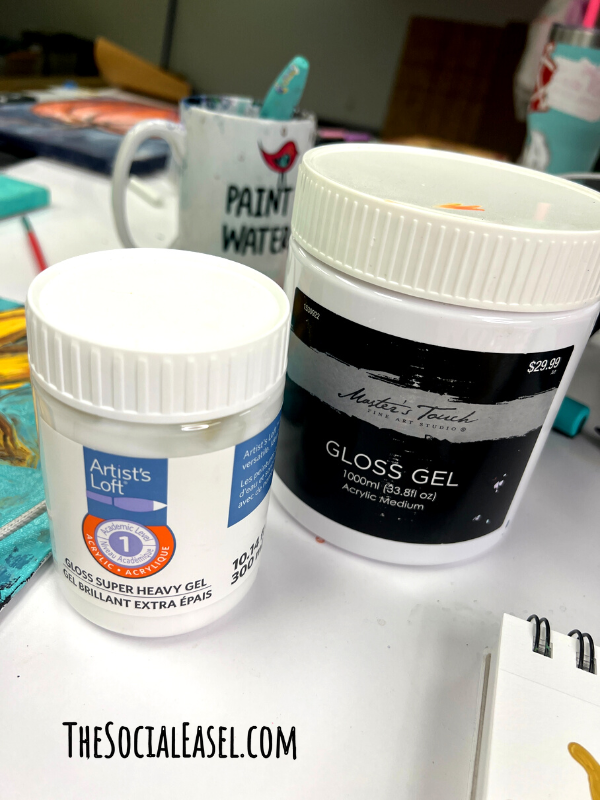
Or, you can make your heavy-bodied acrylic paint even thicker by also adding a gel medium. In the photo below you can see two different types of gel medium I typically use.
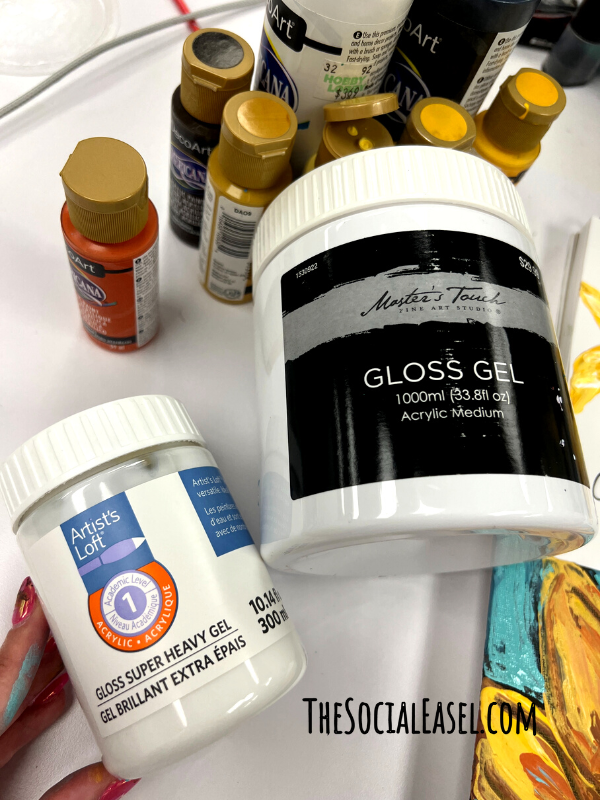

The gel is going to be a little thinner than the heavy gel. It’s really up to you which one you use. If you want your paint to really stand off your canvas, then I recommend the heavy gel. You can also pick your finish by choosing from different options, such as gloss or matte. What you don’t want to use is modeling paste. Modeling paste is opaque and will add white to your paint which changes your color. Gel medium does not change the color, so you can use this without any worry about changing the paint colors you originally chose.
How to Thicken Acrylic Paint with Gel Medium
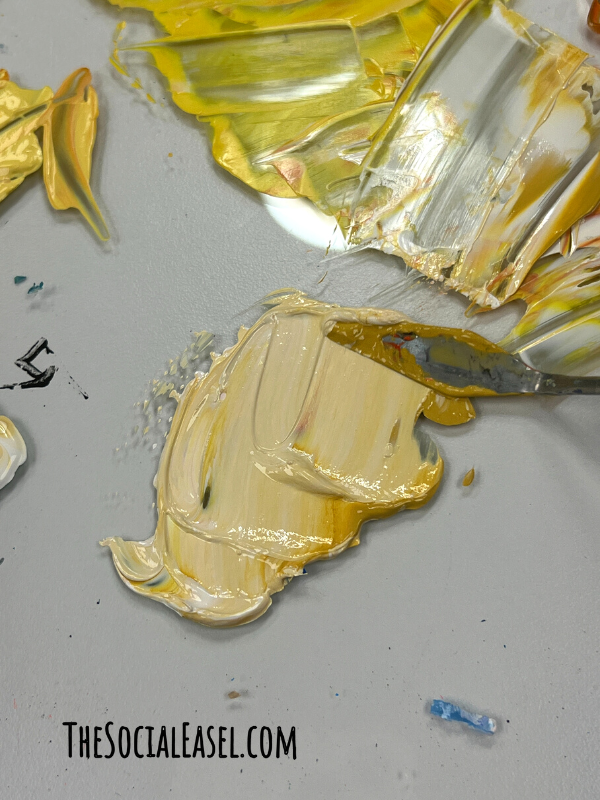
- Scoop up some gel medium onto your pallet. Mix it with the craft acrylic paint that you want to thicken.

- Use your pallet knife to mix it around by cutting through and mushing it together.
- Test to make sure you added enough gel by lifting some of the mixture onto your palette knife and tip it to the side. If your paint runs off your palette knife, you want to add a bit more gel. If it stays on your palette knife, you have good consistency and are ready to start this tutorial.

How to Paint a Sunflower with a Palette Knife:
STEP 1 – Choose and prep your canvas
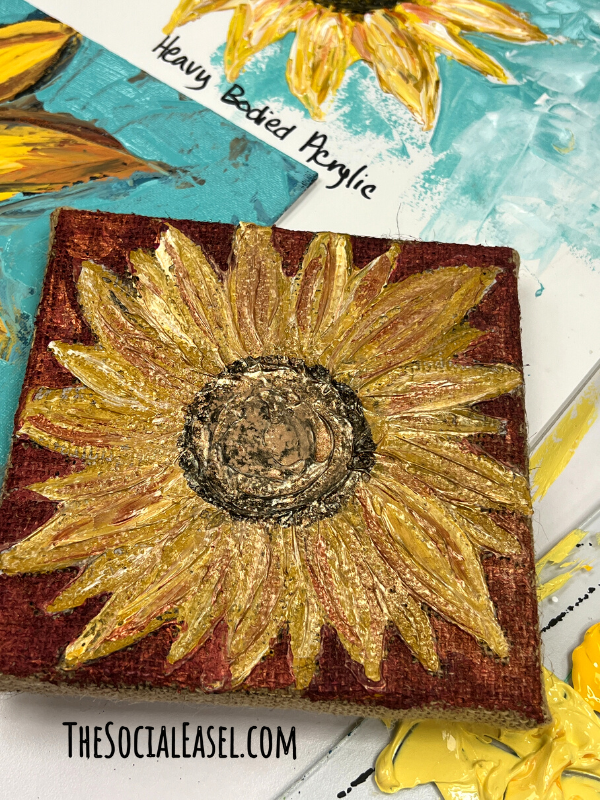
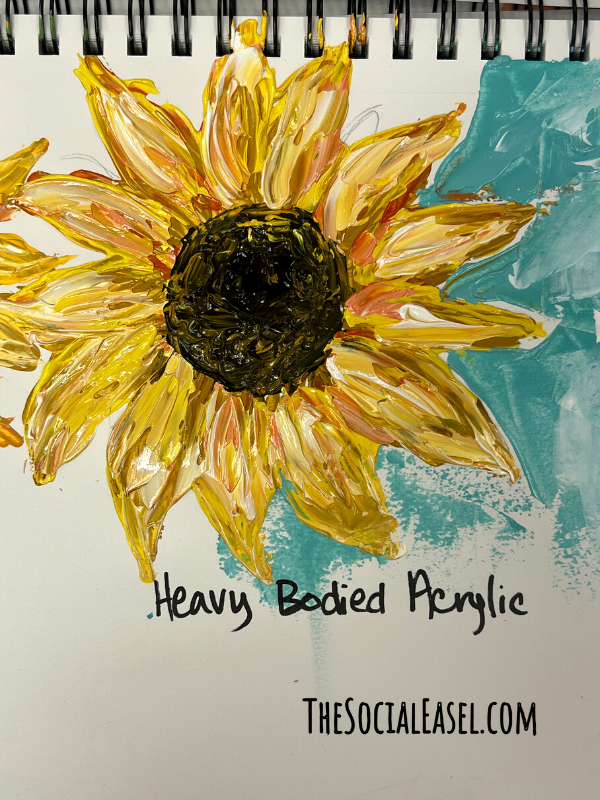
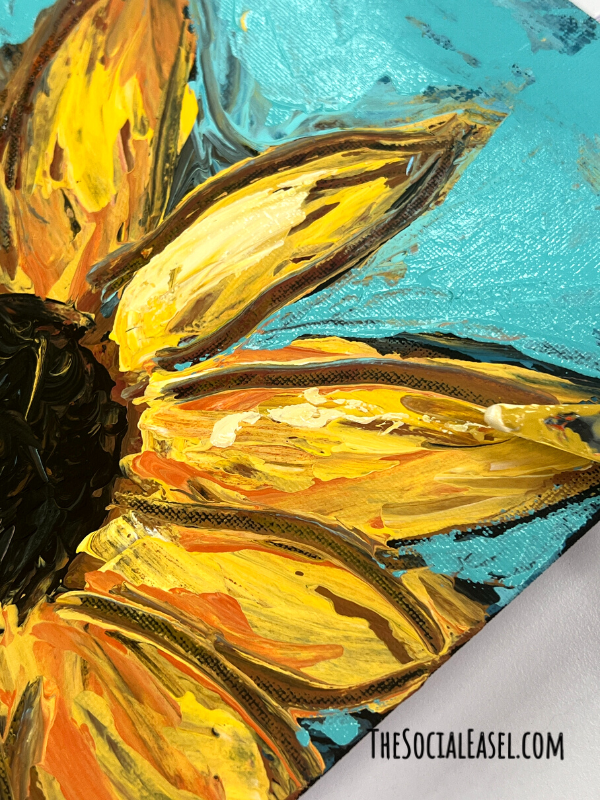
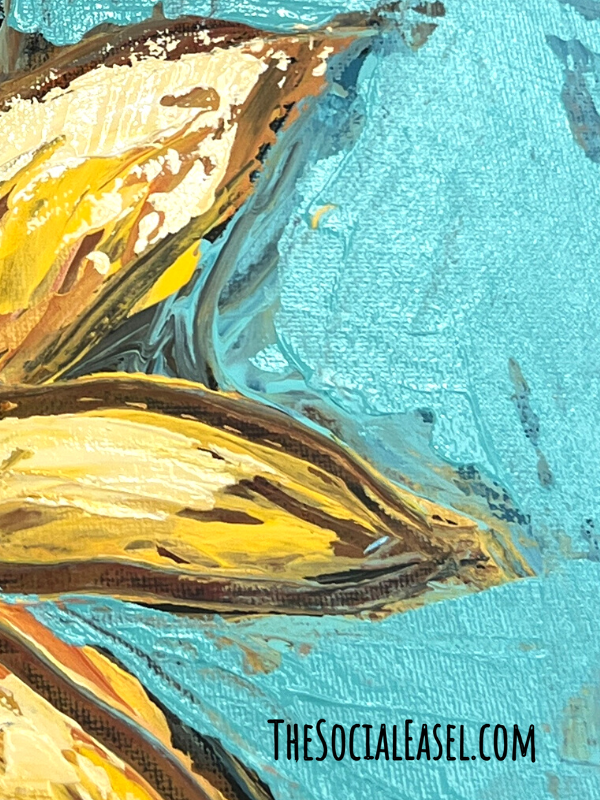
I used two different canvas types for this tutorial – a regular canvas and a burlap canvas. I love burlap in the fall, and I love the texture it brings out in the painting. But, a regular canvas will do just fine as you can see from the sunflower with the teal background. You really can use either one!

Prepping your canvas is completely optional. On the sunflower above you will see a teal background. I prepped that canvas by painting the entire canvas black first. Then, I spread and scraped teal onto the canvas using my palette knife. I like adding the scraping technique so you can see a tiny bit of the black come through for more depth. You can also do this step at the end of your painting by working around your sunflower. I just prefer to do it at the beginning.
With the burlap canvas, I simply applied a dark red coat of acrylic paint onto the surface. You will want to let these completely dry before you begin painting your sunflowers.
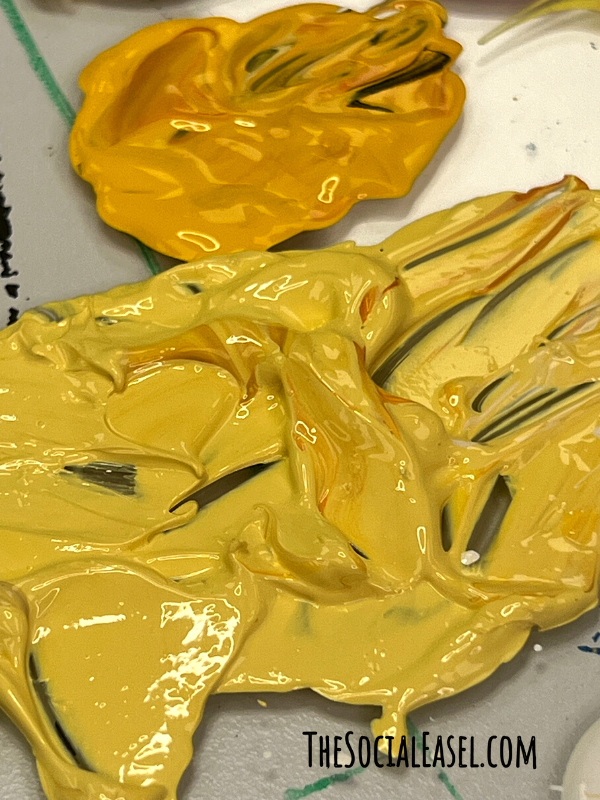
STEP 2 – Gather your paint colors
I chose a variety of yellows to work with. I also added some white, red, and black to my paint palette. You will want a variety so that you can mix and create different shades.

STEP 3 – Practice on your Mixed Media Pad
As you can see in the photo below, and in most of my painting tutorials, I prefer to start with my Mixed Media Pad. You can get these pads at any art supply store or in my Amazon storefront. The paper in these pads allows you to use all kinds of mediums, get in good technique practice, and perfect your approach without having to do trial and error on your actual canvas.

STEP 4 – Sketch a sunflower silhouette
On your blank canvas, you want to sketch out the general silhouette of your sunflower. I’ve never seen a single perfectly symmetrical sunflower, so please do not try to make your petals uniform. I love how unruly sunflower petals are, so trust the process. Do a quick trace on whichever
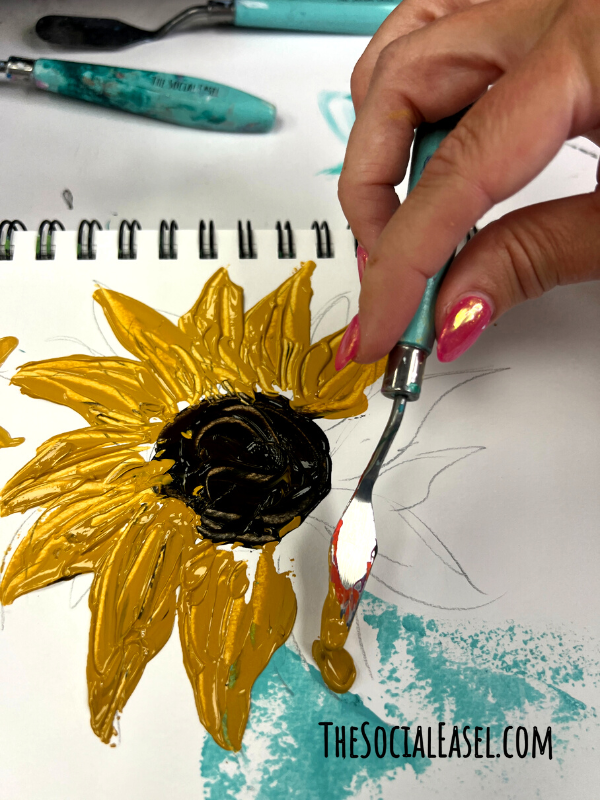
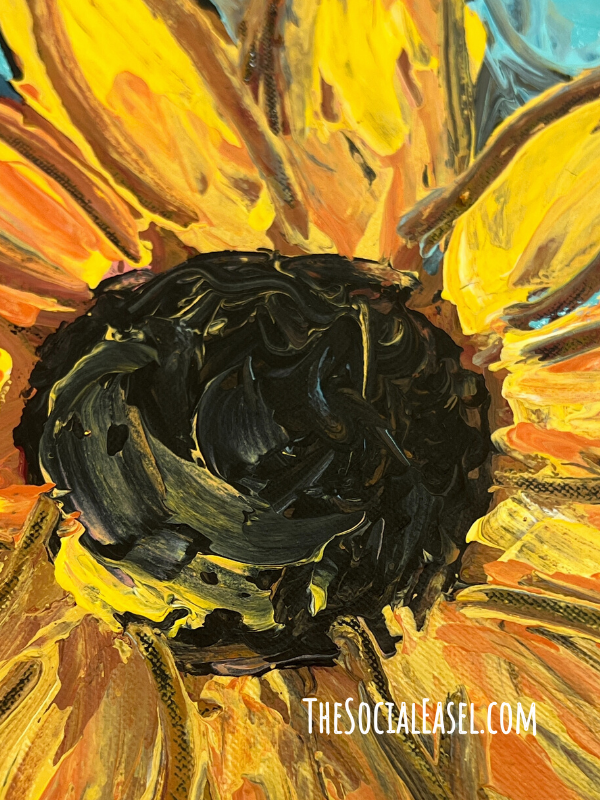
STEP 5 – Fill in the center
Grab some black or dark brown heavy-bodied paint and fill in the center of your flower. This shouldn’t be a perfect, cohesive layer. You want to have it ranging in depth throughout.
STEP 6 Start filling in your petals
Start by adding a thick bottom coat of paint with your palette knife and one of your lighter yellows, but not the lightest. I started with this mustard yellow. You should use your heavy-bodied paint, or your diy heavy-bodied paint you created with the mixture of craft acrylic paint and gel medium as I detailed above.
STEP 7 – Work your way around the sunflower
When I’m doing flowers I like to rotate my canvas as I go. This way I get a good angle for each petal. You press down with the knife into the bottom, and this spreads the paint out into the petal. This is not about being perfect. This is an impressionistic style so you want to be loose with it. That loose style is made easy by using palette knives.
As you move around your petals, go petal-by-petal working in different variations of yellow. You want to be patient, though. No rushing around the sunflower. Take your time and allow things to dry in between layers. You will make a muddy mess if you apply different yellows before the layers begin to dry.
STEP 8 – Begin layering your paint colors
To start adding layers to the petals, I like to go in with the tip of my palette knife at this step and pick up my heavy-bodied paint. Then, you want to hold it flat with the paint on the back side as you lightly scrape in that color from the back of your palette knife onto the petal. Using the tip of the palette knife prevents you from covering the entire petal
As you layer, this is a great time to work in those other shades and create shades of your own. Here is where I pulled in the reddish-orange to my light yellow and started mixing it in. You can also start working some of the white into your shades of yellow and dark orange. This is where you need to trust the process and have patience. Don’t rush it. Allow your petals time to dry between applications.
STEP 9 – Add texture to the center of your flower
Using some of the yellows you have in the flower petal, take the very tip of your palette knife and grab a little bit of paint. Then gently add some spots onto your dark center. This should be light tapping with maybe even a tiny bit of a scraping motion. The effect should loosely represent the seeds you find in the center of a sunflower.
STEP 10 – Work on your background
If you already prepped your background before you started your sunflower, then this is a step you can skip. However, if your background is blank, this is where you will want to add color and texture. I scraped teal around the sunflower on the regular canvas by using my palette knife. I love the scraped effect for your background. It does an excellent job of filling your painting’s negative space while also adding dimension.
And, there you have it… an absolutely gorgeous, textured sunflower painting! I hope you enjoyed this painting tutorial. This is one you have to do over a longer amount of time as you let those layers of color dry, but the finished product is truly a stunning art piece that people will stop you and ask how you accomplished such a cool, textured sunflower.

Want more tutorials like these and a supportive, creative community of fellow artists?! In my Tribe, we are always creating fun art like this. And, the awesome thing is that you don’t have to have any previous experience or training at all! I walk you through each painting and lesson step-by-step! Join the waitlist for Tribe today so you are the first to know when our doors reopen!