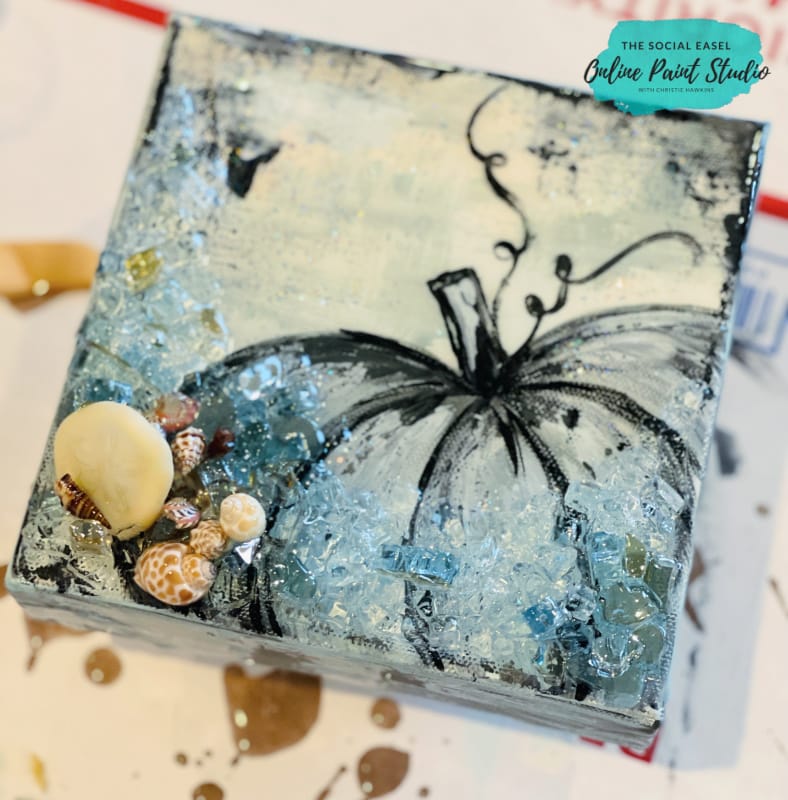
Glass Mixed Media Art with a Resin Pour
Have you ever wanted to do resin on a piece of art, but it intimidated you?
I love the look of the shiny gloss finish. It just looks expensive and classy to me. One of my good friends Cindi with Art Shattered, teaches women how to do resin and glass art! And thankfully, she happens to be one of my business besties, and on one of our trips to Florida, she brought all her supplies and showed all of us creative girls how to do it! The best part? It’s way easier than you think!
* This post may contain affiliate links. If you purchase, I could make a small commission at no charge to you. Please read my Disclaimer and Privacy Policy HERE.
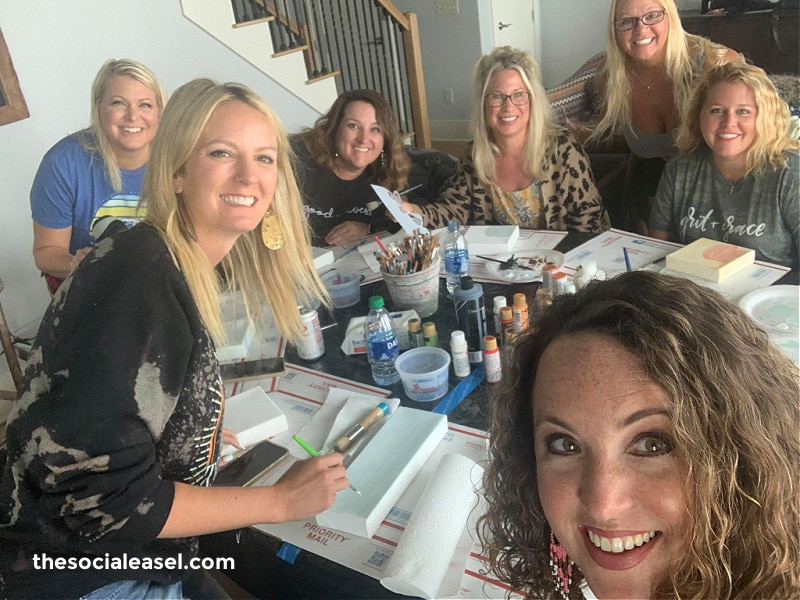

I have literally been putting this off for years out of fear. And yes, I know, I tell you guys not to do that all the time. I was so scared of messing up my artwork and not being able to fix it that it stopped me from trying.
Guess what? Now that I’ve done it, I wish I had started a long, long time ago! Just like with everything else, it’s not as intimidating as I thought it was.
Materials Mentioned
Step 1: Create Your Artwork
We started by creating our pieces of art. I chose to do some neutral tones with a pumpkin. I want to add more of that color scheme to my fall decor.

Step 2: Let Your Artwork Dry & Add Embellishments
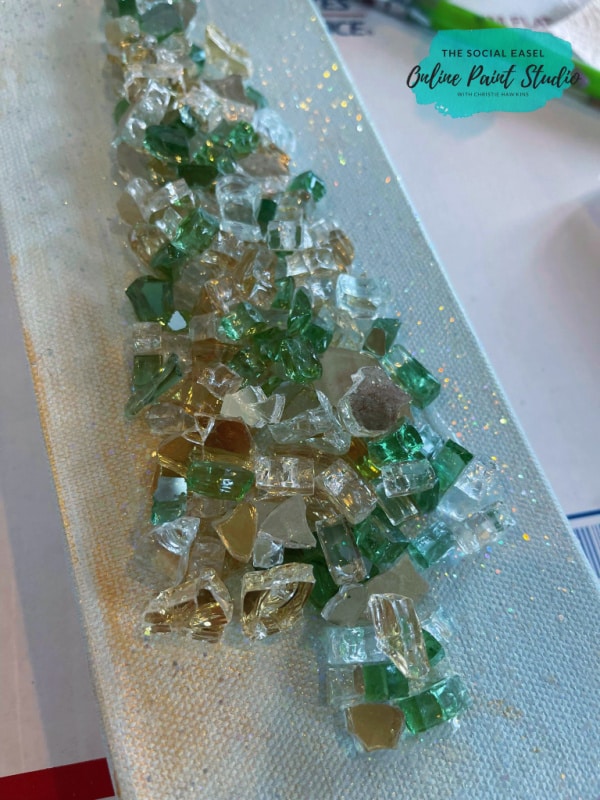
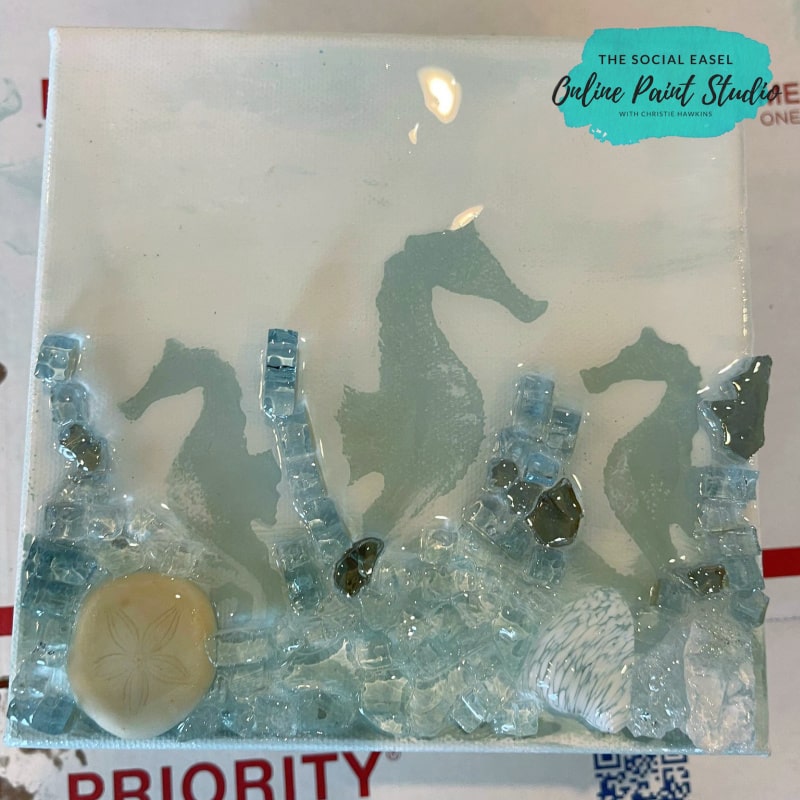
Once we finished our paintings, we let them dry completely and made sure they were clear of any dust. The next step was adding all of the fun glass pieces and shells. You can get so creative with this and add anything you want!


Adding all those extra elements on top of my painting was my favorite part, and it’s honestly hard to stop. You know I had to add some gold glass flecks in there, too!
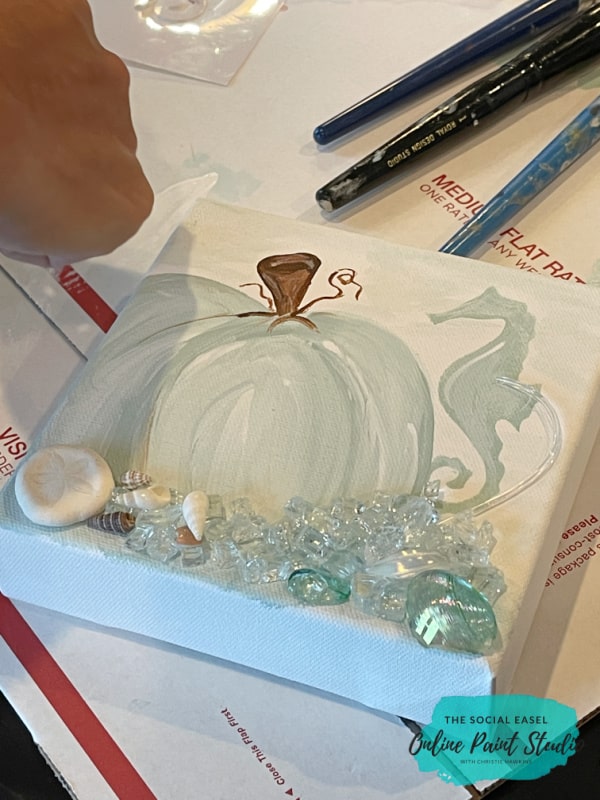
Step 3: Prep & Pour the Resin
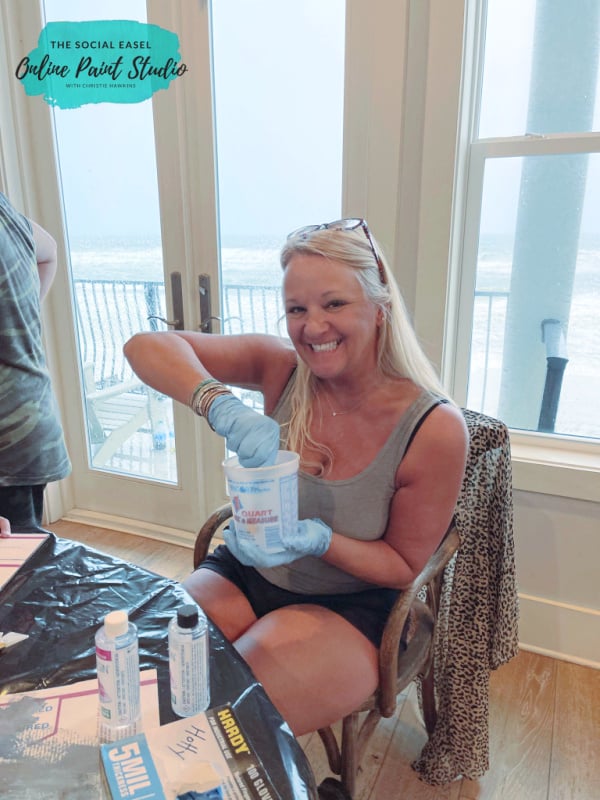
Once you have everything exactly where you want it, it’s time to pour the resin. Resin has to be mixed precisely according to the instructions. If you don’t do it correctly, it will not dry appropriately or give you that smooth glass-like finish. I recommend you use a cup with measurements and make sure it’s an exact 50/50 ratio so it cures correctly. Then, mix for at least 3 minutes, scraping the sides and bottom of your cup.
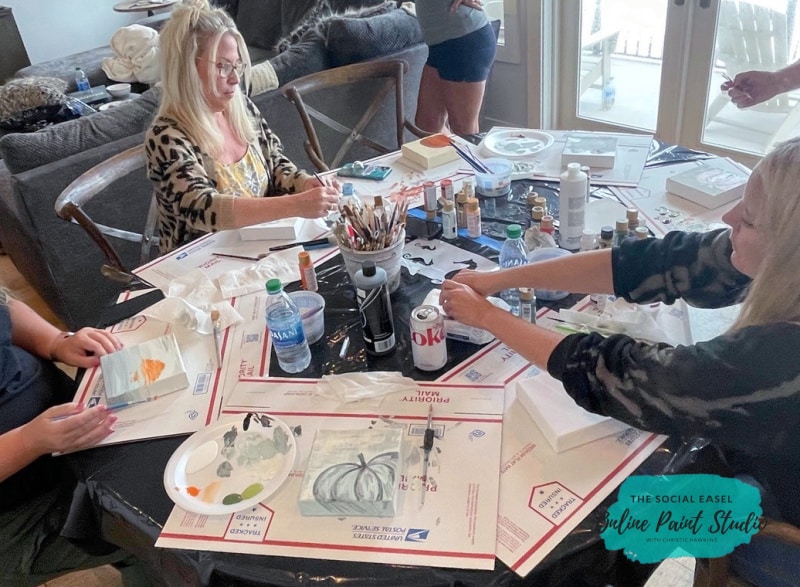
To prep for the resin pour, we propped our art up on blocks over a vessel to catch any drips. Then, we drizzled the resin over all of our pieces. You need way less than what you would think! You want to first drizzle resin on any glass embellishments you added, then cover the rest of your canvas and spread it out with fingers (in gloves of course!).
Step 4: Clean Up & Dry
Once you have completed covering your artwork in resin, clean up all the drips along the sides. If you notice any bubbles, you can use a small heat gun or even a hair dryer on low to get rid of air bubbles so your finish stays crystal clear. Then just let it dry. That’s it.

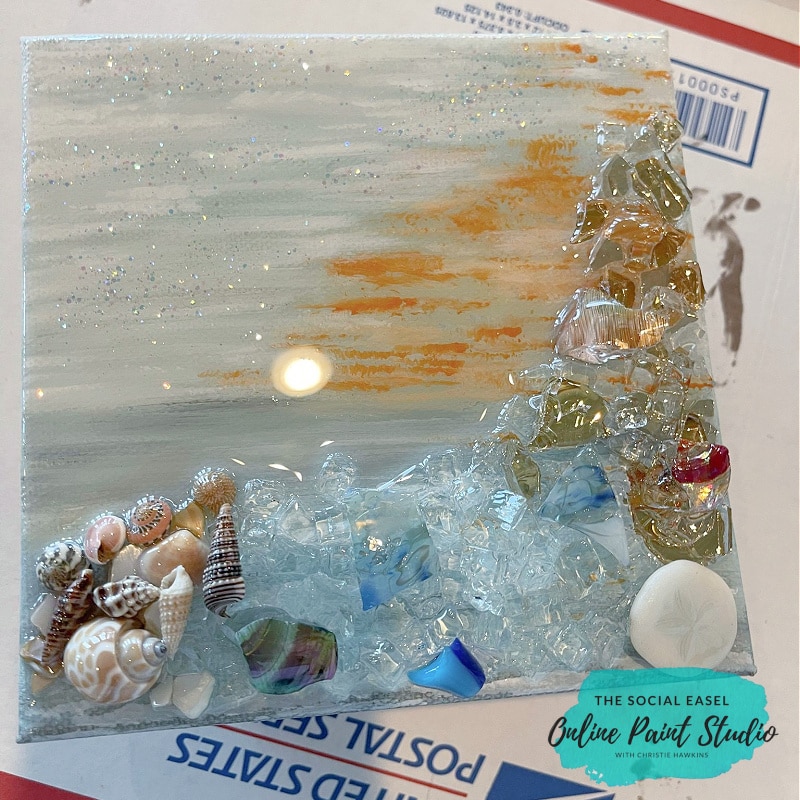
You want to let it sit for at least 12 hours before touching it, so be sure to put it in a safe place where no one can knock into it, and no bugs can fly into it.
I am absolutely in love with my first resin piece of art, and I cannot wait to incorporate it into some of my pieces! I put some pictures down below so you can see everyone’s work and how different and unique each one is!

We were all so impressed with ourselves! We are a bunch of creatives who were scared to do something new. And then once we did, we realized how much fun we could have with it.
If you want to learn more about glass art and resin, be sure to follow my friend Cindi at Art Shattered! You can take one of her free tutorials by clicking here. Be sure to tell her Christie sent you!

I can’t wait to use resin in my art more. Have so much fun jumping in and trying something new! And I promise… You do not have to be scared.
You can do this!