How to Use an Angled Paintbrush
Learning How to Use an Angled Paintbrush can be a game-changer for your painting projects. This step-by-step lesson provides a quick tutorial on how to use one of my favorite brushes!
* This post may contain affiliate links. If you purchase, I could make a small commission at no charge to you. Please read my Disclaimer and Privacy Policy HERE.
It’s been a while and thought it was time to do a refresher on the different types of things you can do with an angled brush. So if you’re looking for a technique lesson or just need a refresher on what to use an angled brush for, you’ve come to the right place!
So many fun ways to paint with an angled brush
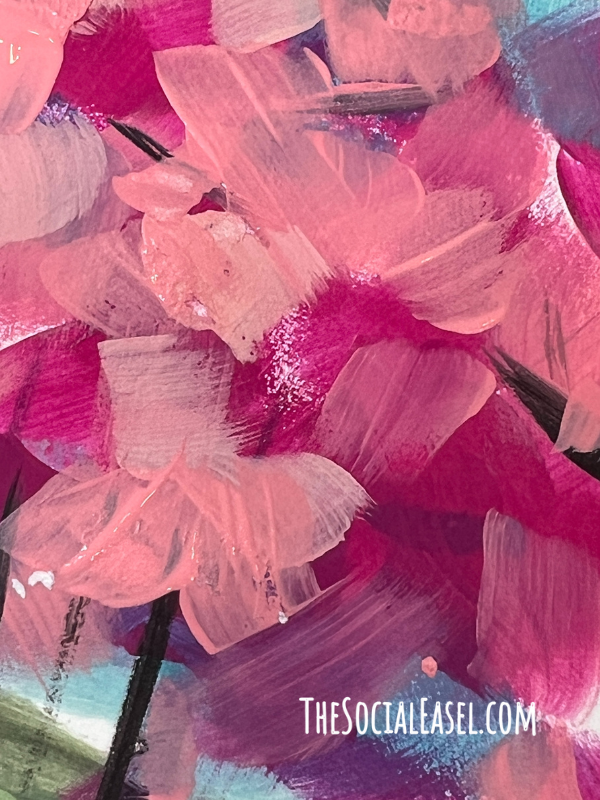
There are many different types of things you can do with the angled brush! It’s one of my favorites! I use it to make grass, leaves, flowers, and trees! When it comes to the angled brush, you can just let the brush do the work for you!
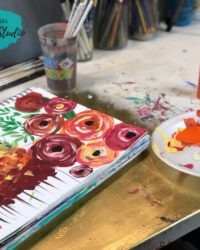
- Paint flowers, leaves, and grass.
- Paint two sunflowers from my “Jar Full of Sunshine” Workshop.
- Paint a nature path with pink trees similar to the “Spring Path” Tutorial.
- Paint fun palm trees.
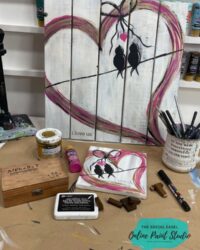
Materials Mentioned
- Mix Media Pad
- 1 small angled brush
- 1 larger angle brush
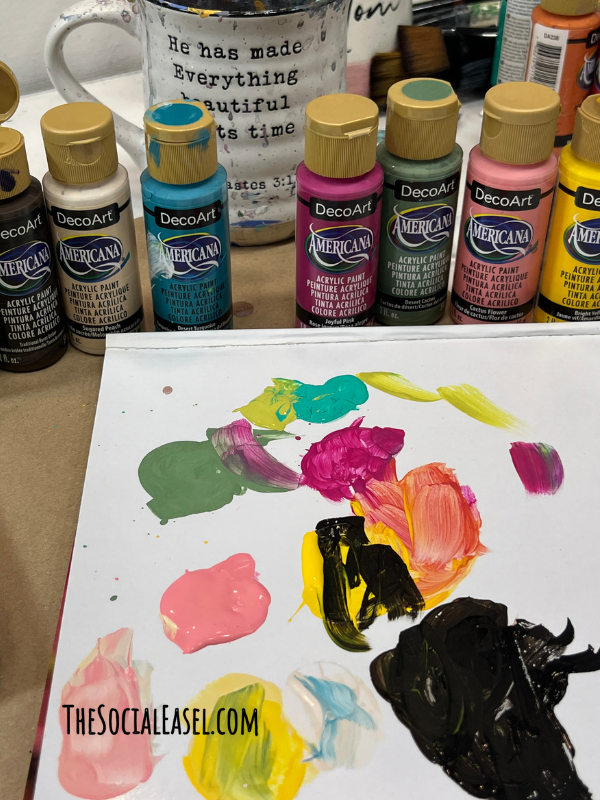
- DecoArt Paint
- Paint Pallet
- My brush set – angled brush
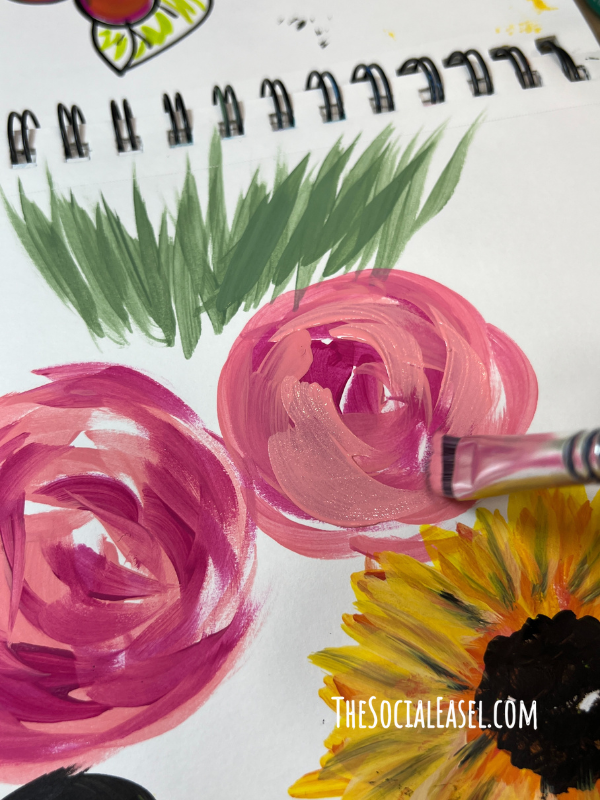
Paint flowers, leaves, and grass with your angled brushes.
Painting flowers, leaves, and grass can help you get familiar with the brushes and how they drop paint and create width and depth with pressure and angle. This is a great way to start painting with your angled brushes. Try these six steps to get started:

Step 1
Load up your larger angled brush, so you have plenty of paint on the brush.
Step 2
Apply simple, quick strokes to add in leaves.

Step 3
Add a stem by drawing with the thin side of your angled brush.
Step 4
Try adding some grass blades with click flicks of the brush.
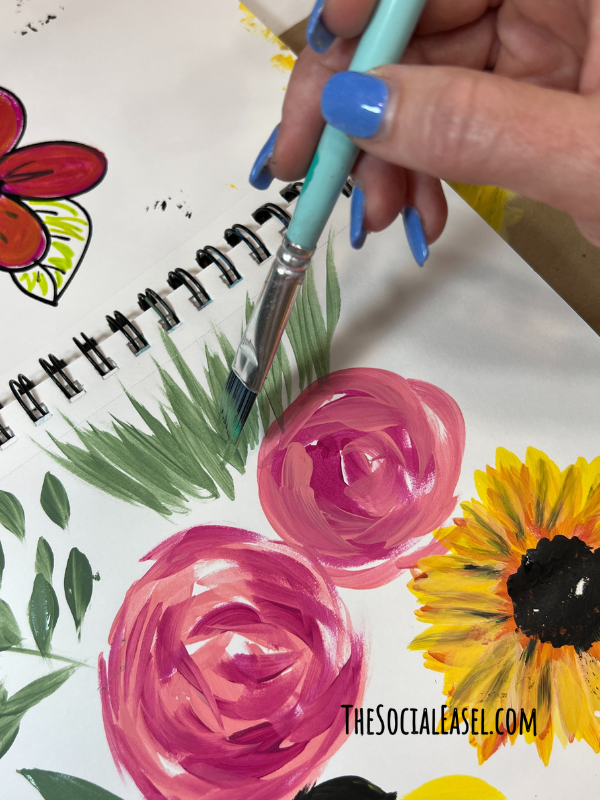
Step 5
Practice some leaves by starting with the point of your brush and then slowly apply pressure as your leaf thickens. Then, lighten your pressure as you move downward and end the leaf with a point.
Step 6
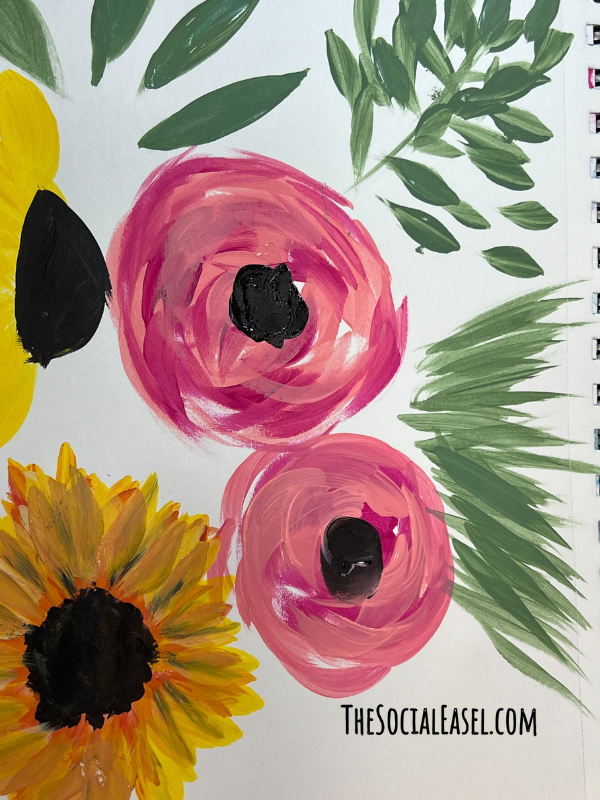
Create abstract flowers by using your angled brush to create loose and abstract strokes in the shape of a circle, but not a perfect circle, just circular-like.
Now wasn’t that fun? Not so bad, huh? Once you start painting more and more with these brushes, I bet they quickly become one of your favorites too! They are so versatile and beginner friendly!
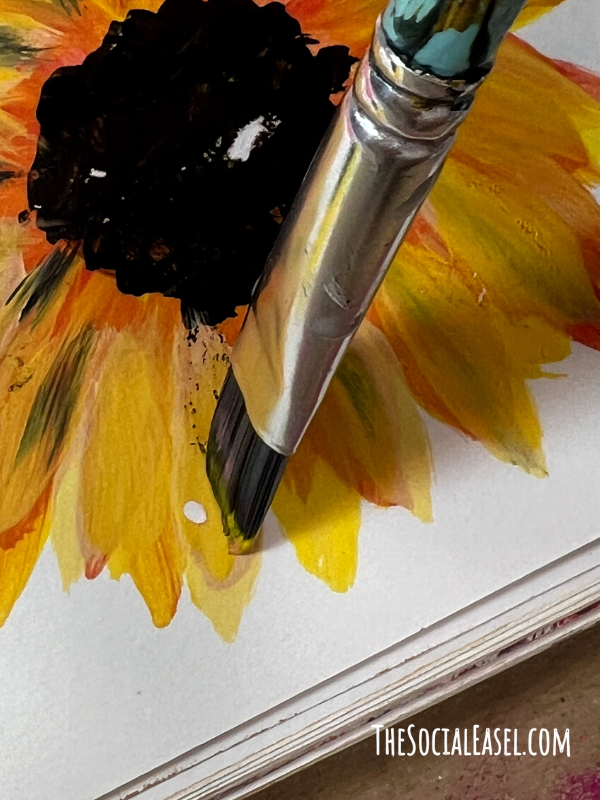
Paint two sunflowers from my “Jar Full of Sunshine” Workshop.
Now that you have taken some time to practice your strokes and created some nice flowers, petals, and leaves… let’s try painting two sunflowers from my “Jar Full of Sunshine” Workshop. Sunflowers are so bright and happy and really easy to execute with these angled brushes, so let’s get started.

Step 1
Take some orange and do quick brush strokes in a circular motion to create those bright thin leaves of the sunflower.
Step 2
Layer the thin long petals with lighter shade as you move around adding in lighter yellow on top of the orange. (This is similar to the gerbera daisy tutorial!)
Step 3
Load up your cleaned angled brush with brown and lay it down in a circular motion for the center of the sunflower.
Step 4
Add in a tiny bit of black to your brown to create some depth in that flower’s center.

Step 5
Go back to your petals, and bring in the bright yellow while adding in a tiny bit of white to brighten it even more. Using your angled brush, start adding quick thin petals over your orange, but don’t fully cover the orange. You want to be able to see all the shades come through.
Step 6
Now that you have a beautiful face of the flower, let’s make a sunflower from the perspective of looking at it from the side. You will make petals just like before but in a line with a bit fatter petal by applying more pressure. Then add your dark flower center but to the top in a half circle. This gives you the perspective of a sunflower laying down or to the side.

Check it out! You did great! Now, if you enjoyed making those sunflowers you would love my “Jar Full of Sunshine” Workshop. This workshop with the step-by-step, prerecorded tutorials is available to you right now for only $15. It is a great project to try if you are getting started with angled brushes.
Let’s paint a nature path.
If you have ever done my “Spring Path” Tutorial then you may be familiar with this painting. If not, you are in for a real treat. We are going to paint a little nature path with only angled brushes.
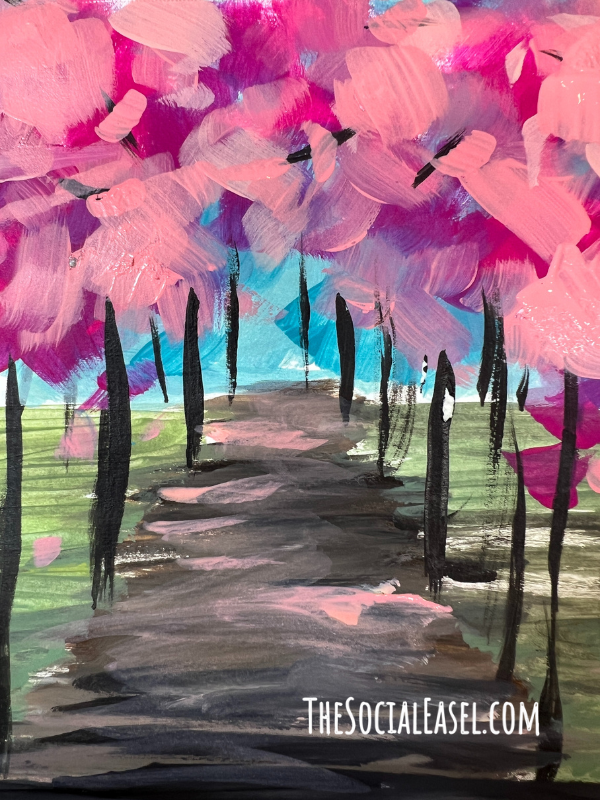
Step 1
Take your angled brush, and grab your black or dark brown paint. Begin making horizontal strokes from wider to narrower from the bottom to the middle of the page in your mixed media book. This will create the illusion that the path is getting further away.
Step 2
Clean off your angled brush, and add green paint to your brush. Start making those same quick horizontal strokes along the sides of your darker center path. This is the green grass to the sides of your path.
Step 3
Begin adding in some trees with your angled brush by taking the black and quickly adding a few, thin, upward strokes along the side of your path in the green. These are the trunks of your trees
Step 4
Then, add in some pink treetops by laying down the angled brush on the wide side. This should not be perfect! Just go with it, and trust the process!
Step 5
Layer your pinks on top of each other. These are your abstract tree leaves.
Step 6
Begin working in your sky by bringing in your choice of sky blue, and add in quick lay-down motions of the angled brush around the pink area of the trees. Also, lay down the angled brush with the sky blue in the trees so it looks like the sky is peeking through.
Step 7
Add back in some pink over that blue to create depth in your trees making the sky appear to be behind the tree. Here is where you can add in some more lighter pink shades.
Step 8
Take a little black to the tip of your angled brush and add in some small black lines in your pink to make it look like tiny branches.
Step 9
Work back in some light paint over some of the branch, so they don’t look like they are on top of the tree but peeking through the trees.
If you enjoyed that, you should check out my free “Spring Path” Tutorial and paint the entire project. It will be so rewarding and fun.
Let’s paint palm trees with an angled brush.

Step 1
Get black on your angled brush and create your trunk. Make the top thinner than the bottom by applying less pressure at the top than at the bottom.
Step 2
Add in teal and green for your leaves and start with quick strokes outward from the top of your trunk. Think of a firework and how the sparks shoot out. That is how you want to add those branches onto the trunk.
Step 3
Add in smaller strokes out from the branches with tiny, quick brush strokes to create your leaves along the branches.
Step 4
Go back and forth adding in green and teal to create depth and texture with your leaves.
Step 5
Maybe add in some pink or orange to add a pop of fun colors. Feel free to try some colors a bit outside of the box. There are no rules here! I just want you to get familiar with working with an angled brush, so you might as well have fun with color while you are at it!
Step 6
If you want more feathered-looking leaves, you can paint with your angled brush wider during the application than just sticking with the long narrow side straight out. Anything goes!
Now you are practically a pro at the angled brush! Now enjoy watching my video tutorial on how to use an angled brush and really test your skills. And, as always have fun!
Post a picture and share what you learned on The Social Easel Facebook Page!
Stay creative!!

If you would like to be notified before I go Live on Facebook with a fun art tutorial, text “Hey Friend” to 417-217-7044.
More from the Acrylic Paint Brush Series
- EPISODE 1: The Flat Paint Brush
- EPISODE 2: The Angled Paint Brush
- EPISODE 3: The Fan Paint Brush
- EPISODE 4: The Round Paint Brush
- EPISODE 5: The Filbert Paint Brush
- EPISODE 6: The Rake Brush
Christie’s Top Pins on Pinterest:
Learn to use a Fan Brush with Christie