Simple Valentine’s Day Love Birds Painting Craft
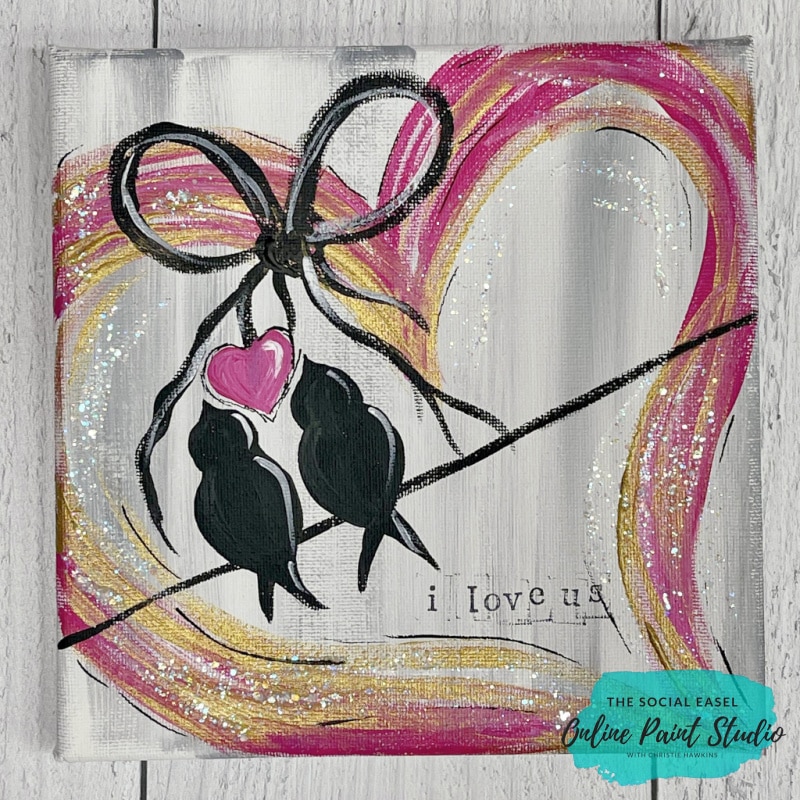
This Valentine’s Day Love Birds painting craft is so quick you will love it! Not only is it super adorable and easy to do, but you can create it as a gift or make it a fun activity with your grandkids.
This whimsical painting is easy to customize, making the perfect couple’s gift. I used to get commissioned to paint it around Valentine’s Day back in the day. I would paint it on an 18×18″ pallet board my husband Cory would build for me. Today, I will be painting a small version on a 7×7″ canvas. You can create this on just about anything you want.
* This post may contain affiliate links. If you purchase, I could make a small commission at no charge to you. Please read my Disclaimer and Privacy Policy HERE.
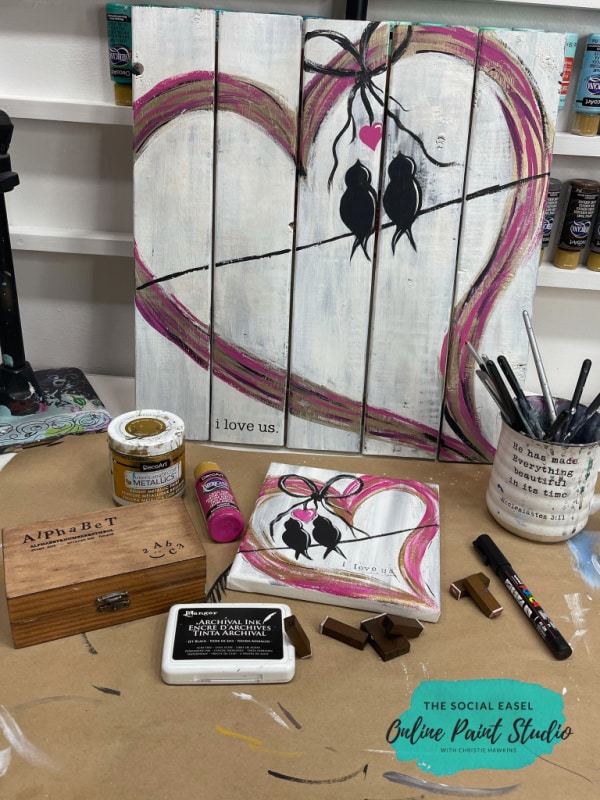
Materials Mentioned
- 7×7 Canvas
- DecoArt Acrylic Craft Paint in Joyful Pink, White, and Black
- Americana Decor Metallics in Vintage Brass
- Deco Art Galaxy Glitter in Clear Ice Comet
- Posca Paint Pens
- Round Paint Brush Set
- Detail Brush Set
- Flat Brush
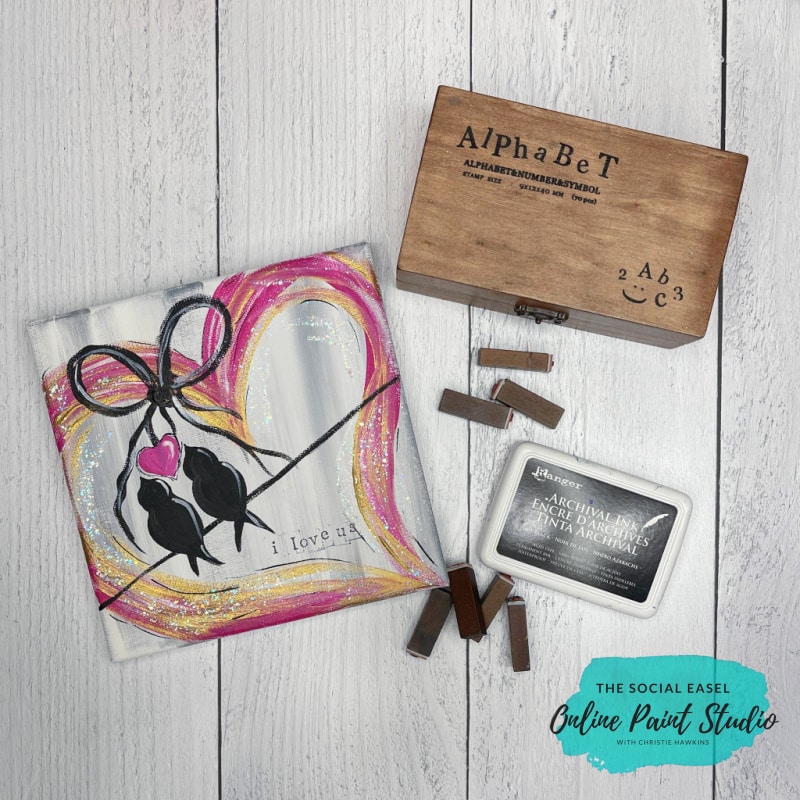
- Black Ink Pad
- Alphabet Stamp Set
- How to Build a Pallet Board for Painting
Sketch An Outline
The heart that surrounds my love birds has a very whimsical shape.
Even though we will be painting a simple background in the next step, we will be starting with a quick sketch of the large heart that borders this Valentine’s painting. You will still see enough of your outline to use as a guide when painting.
Loosely sketch the heart on your painting surface with a pencil. The whole thing doesn’t have to fit on there, and it’s not symmetrical either. I tuck my heart’s tail into the bottom corner, and the sides go over the edge of the canvas some.
How to Paint a Simple Background
After you have your whimsical heart outline, it’s time to add a barely-there background.
You don’t need a lot of paint. We are applying just enough to create rustic texture and don’t need opaque coverage.
Use a flat paintbrush and some white paint to quickly brush the entire surface using vertical strokes. Then, mix yourself a bit of gray and softly run just a few swipes through the white.
For that rustic, woody look, don’t over blend. Keeping it quick and straightforward is best.
Paint the Heart
Once your background is dry, it’s time to paint the whimsical heart. I choose a gorgeous hot pink and will be running gold and glitter throughout, but you can choose any color you want.
I am using a #5 round paintbrush to paint the heart. That is because I am painting on a smaller canvas and am aiming for wispy disconnected lines. Choose a brush size that will work for you and the canvas you are using. The larger the brush, the more coverage and thicker the stroke will be.
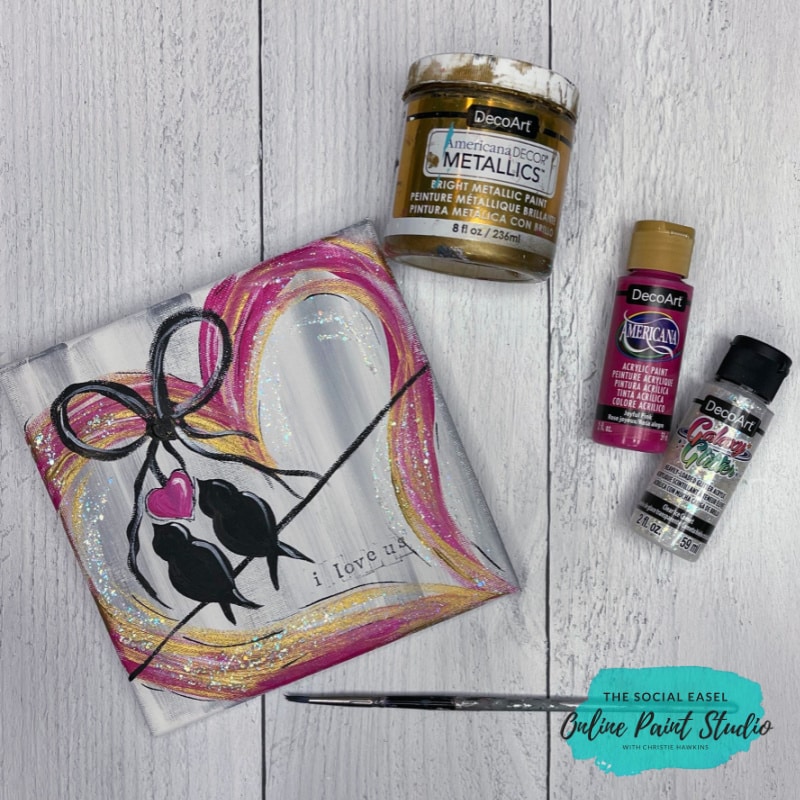
Load up your brush bristles with a fair amount of pink, and start painting your heart with sketchlike strokes. I want a loose, whimsical-shaped heart. I don’t want solid connected lines.
Then, I switch to one of my favorite metallic paints and add some fun gold right in with the pink.
It’s the gold pretty with the hot pink?!
Painting the Love Birds
Once your heart is painted, it will be easier to plan out the rest of your composition. I know I want my birds to be perched in the larger side of my heart, so I have enough room for the birds and the ribbon details. I also plan to paint the branch low down enough to accommodate.
With a small detail brush, begin with the branch that the love birds will be sitting on by very lightly running the brush along the canvas. The less pressure you use, the thinner the stroke will be.
My branch runs across the whole canvas at an angle.
Then it’s time to paint the little Valentine’s Day Love Birds. Don’t worry. I will break it down into simple shapes anyone can do!

An easy way to paint the body is to make the shape of parentheses. You can make them as fat and round as you’d like, but I recommend starting with an average size and then adding to the thickness, or you risk losing their shape entirely.
To paint the tail, pull down from the side of the bird, moving across to make an X. Then slightly make the top thicker and taper down.
The head is a quick circle that I kind of start in the body a bit, so it doesn’t look like a bobblehead.
When you are happy with the shape, fill them in.
Lastly, my love birds are looking up, so I paint little beaks at the tops of their heads.
Paint a Bow
Using the same liner brush and black paint, create a simple bow shape above the Valentine’s Day Love Birds. To do this, I start with a small ball of paint to represent the center knot of the ribbon. From there, I paint the two large top loops and a few string tales flowing down. Then, I go back over the basic lines to finesse the shape and give the ribbon some thickness and movement.
When painting the ribbon tails, make sure to leave yourself space for the heart that will be hanging above the birds. I was chatting away and totally forgot to leave myself a room. The good thing about acrylic paint is that mistakes are easy to fix!
First, I let the paint dry completely. Then I covered the misplaced black paint with a little white so that when I paint the heart, you won’t see the black poke through at all.
Add All the Glitzy Details
Of course, I wanted to add even more shine with glitter. Like the gold, I want the glitter randomly placed all over the heart. This glitter paint adds the perfect amount of glitz!

With a fine detail paintbrush, paint a small pink heart hanging from the bow above the birds.
Next, I like to add a few highlights to the bow, heart, and Valentine’s Day Love Birds with my fine liner brush and white paint. The lighter the pressure you use, the thinner the line will be. If this makes you nervous, you can also use acrylic paint markers to get a similar look.
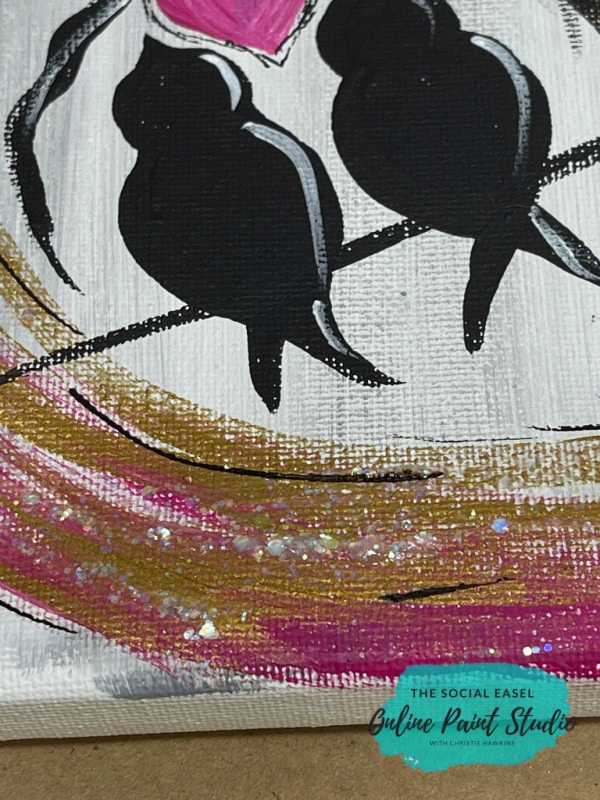
I used these Posca Paint Pens to add a few quick black marks outlining the shape of the small heart and around the large heart with accent lines. The paint pens make this easy without getting too heavy-handed. make it easier
Stamp on a Sweet Valentine Saying
To finish this whimsical Valentine’s Day Love Birds painting, I stamped the words “I Love Us” on my canvas with my favorite alphabet stamps. You could customize the saying to anything you like and even personalize it with the initials of a special couple.

I don’t worry about this being super perfect. And I like the stamp marks I sometimes get around the letters. I think it adds to the rustic charm.
If you want it a little cleaner, you can paint over those tiny marks, or make sure to wipe the stamp down before stamping it on the surface.
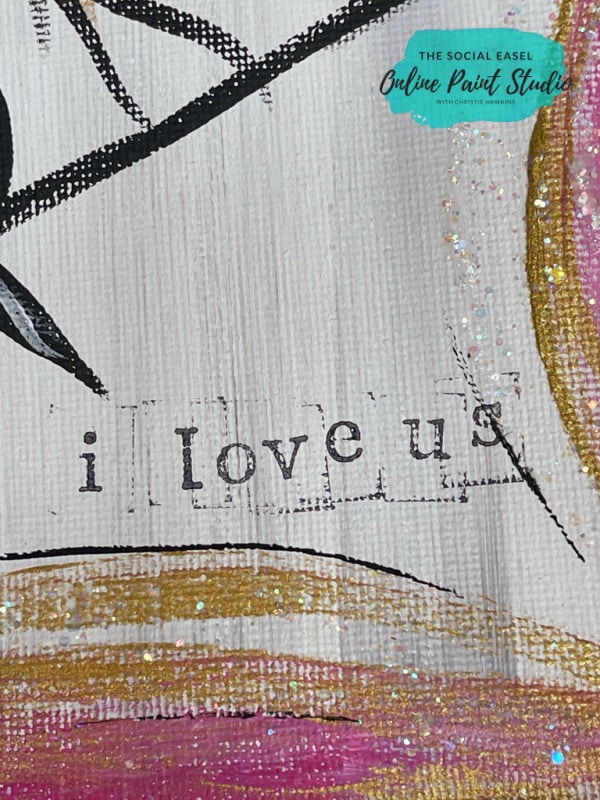
If you are nervous to stamp directly on the canvas, you can instead apply them onto small slips of paper, cut those out like text blocks, and glue them on, similar to how I did in this Christmas Tree mixed media lesson HERE.
Watch Christie’s Valentine’s Day Love Birds Painting Craft
If you want to paint this or any of our other painting projects on a pallet board, Cory and I put together a tutorial so you can build one yourself! Learn more about How to Build a Pallet Board for Painting HERE.

I hope you enjoy this fun little project Valentine’s Day painting project! Visit my FB painting community and share what you create!

