Fun night painting Ceramic Christmas Trucks
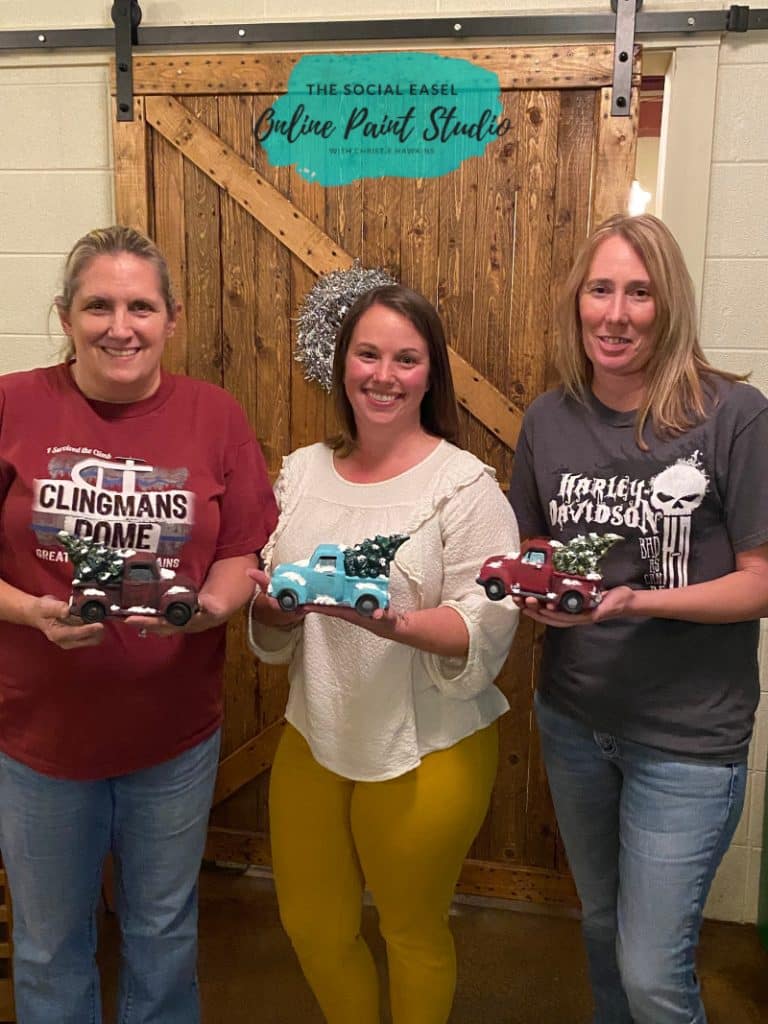
This was my last local paint night in 2019 and I think you will love it! We had so much fun painting ceramic Christmas trucks that are actually tea light holders! They are so adorable!
* This post may contain affiliate links. If you purchase, I could make a small commission at no charge to you. Please read my Disclaimer and Privacy Policy HERE.

It was my first time ever teaching how to paint on ceramic and everyone loved it. I definitely want to do more of it! I took lots of pictures so I could show you guys the progress of the night and a few tips on painting your own ceramic pieces.

One thing that surprised me, is that I have always thought I had to be able to fire ceramics, so I never messed with it before. Now I know that there are other options. You can choose to leave it rustic like I’ll show you a few pictures below, or you can cover your ceramic pieces in gloss decoupage to give it a shiny finish mimicking fired ceramic pieces.
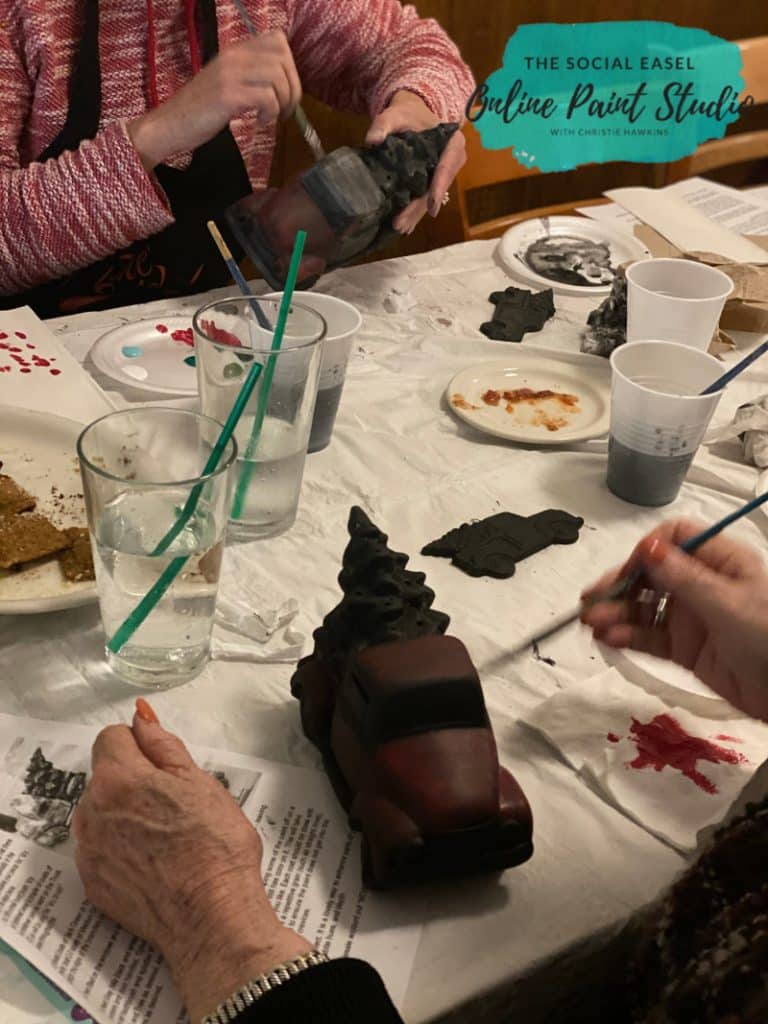
Depending on what you are painting you may or may not want to do this first step. It’s called antiquing and we basically watered down some black paint and covered our entire truck and tree with it first so that it would give it an aged look.


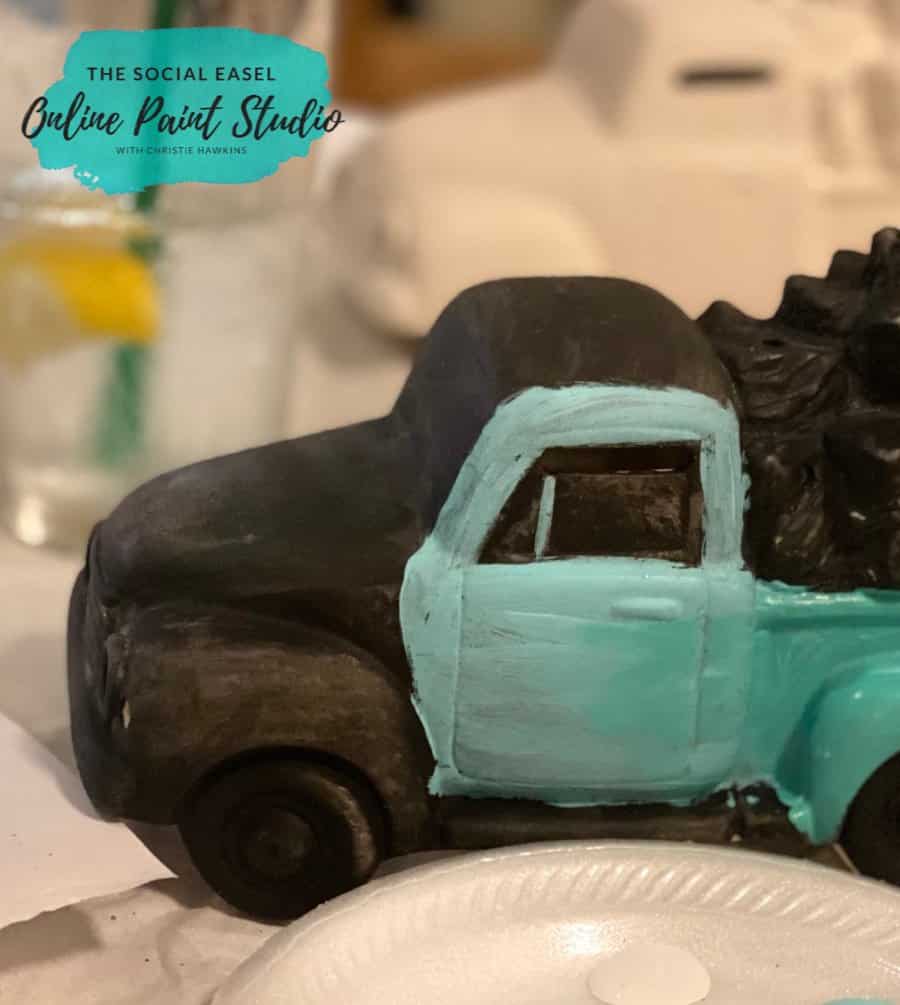
If you don’t want it to be too dark I recommend having a baby wipe on hand and doing small sections at a time and then wiping off to give it a lighter finish. Once you have your black base on there, it’s time to add your color!
Here are some of my Favorite Colors and Supplies that we use to Paint this Ceramic Truck
- Deco Art Americana Acrylic Paint in Bahama Blue, Cranberry Wine, Forest Green, Black Forest Green, Black, and White
- Deco Art Dazzling Metallics in Festive Green, and Crystal Green
- Snow-Tex by Deco Art
- Deco Art Craft Twinkles Glitter Paint
- Deco Art Americana Gloss Decoupage
- Ceramic Bisque Christmas Truck
You could use this technique for so many ceramic bisque projects! Look at these adorable Gnomes!
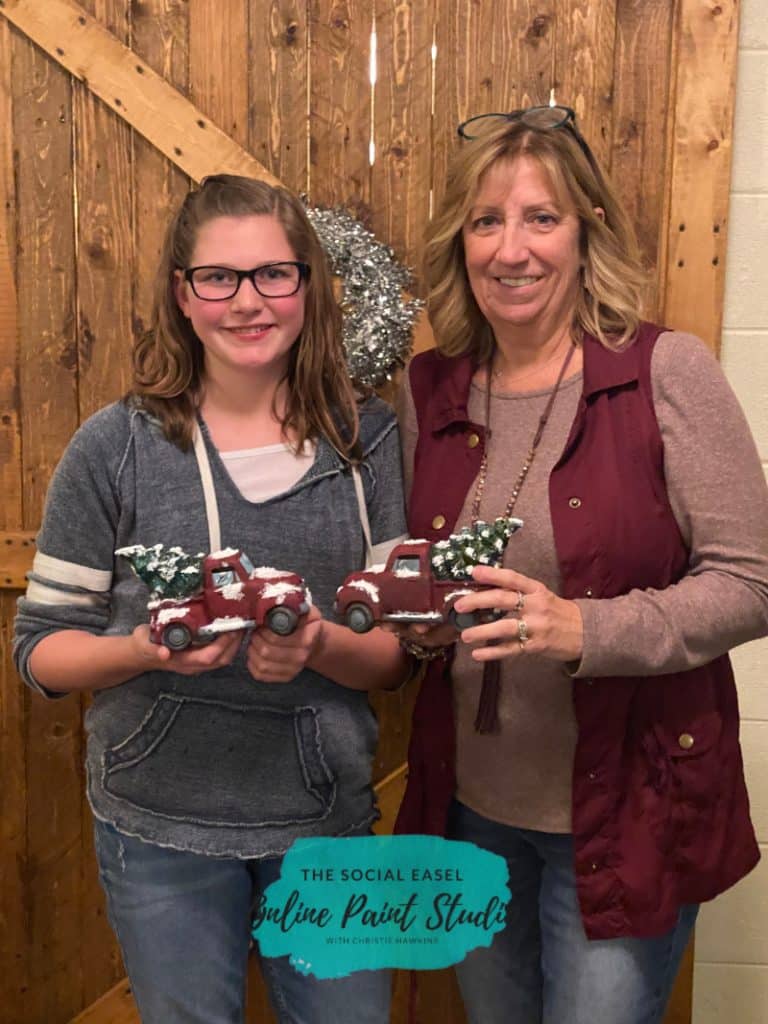
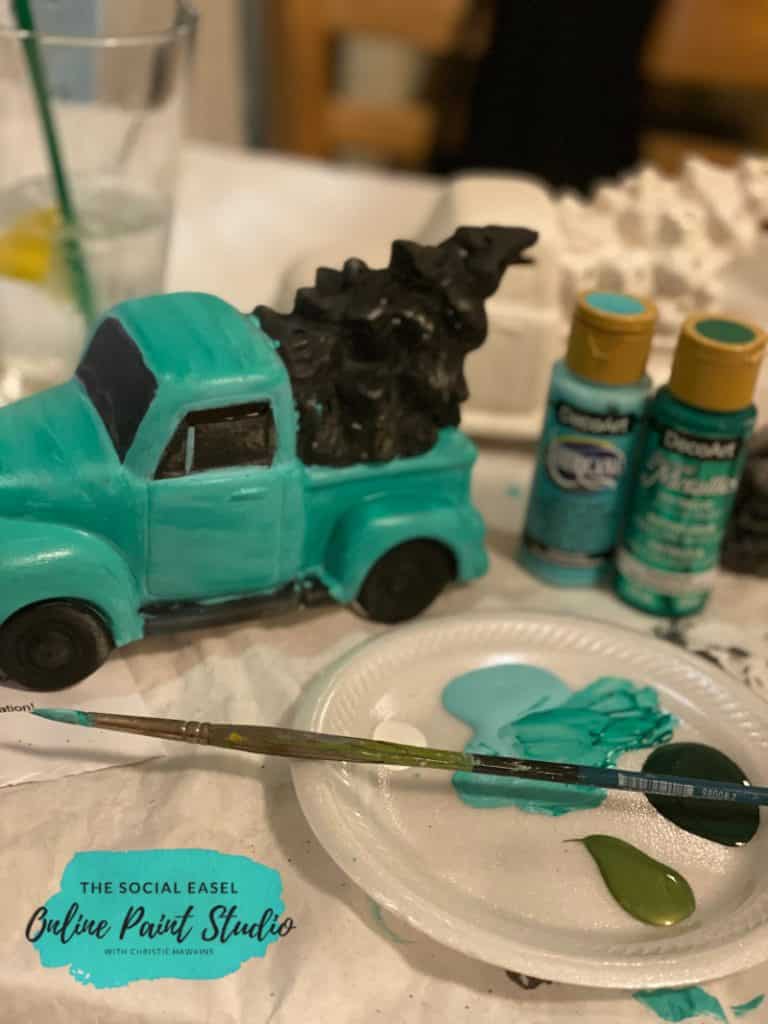
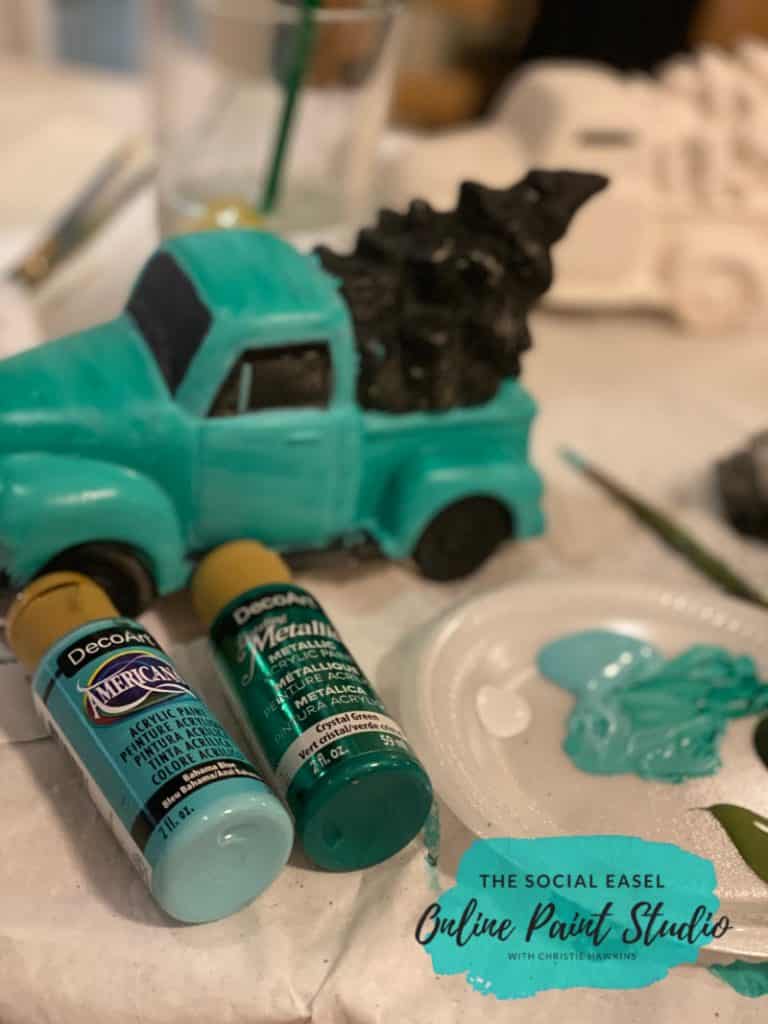
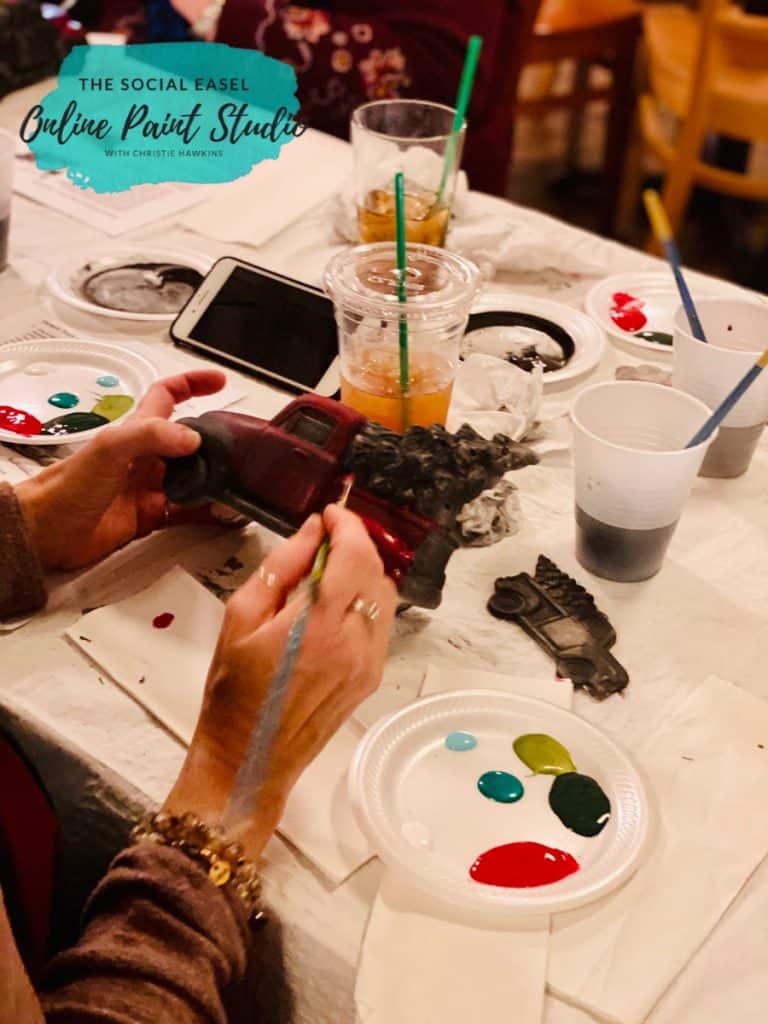
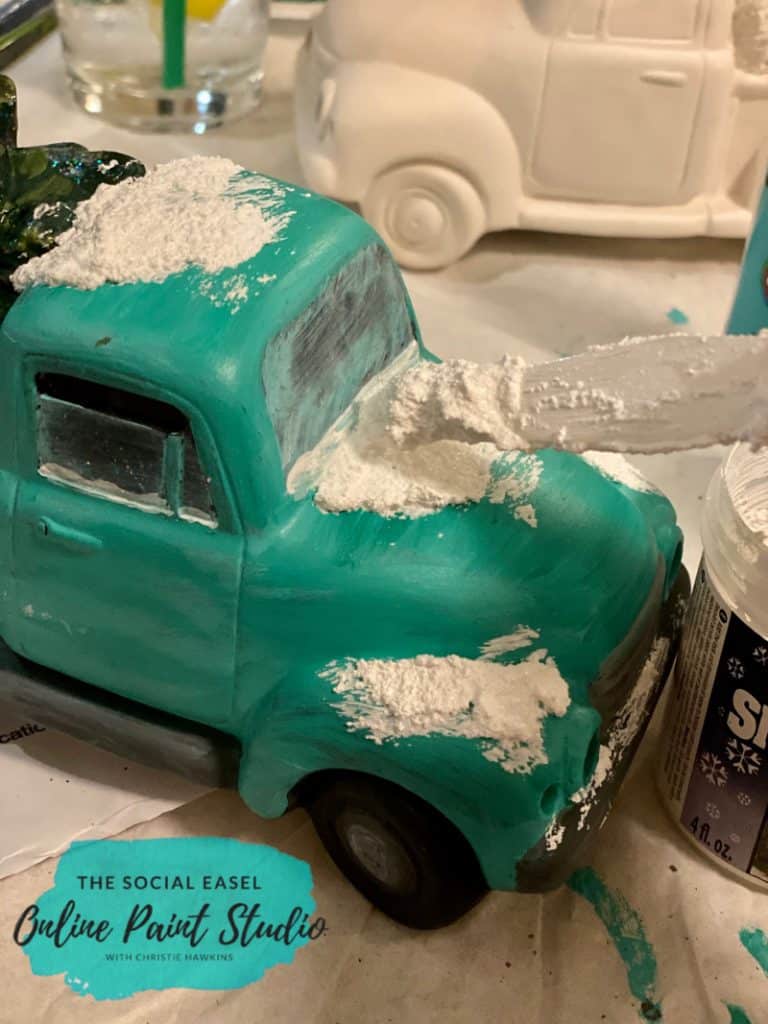
Most everyone chose red for their trucks but I also did a light blue/teal. I started with Bahama Blue from Deco Art and decided I wanted something with a little more teal in it so I added the Dazzling Metallics Crystal Green and it made the absolute perfect color for me! I loved it and it gave it a shiny finish!

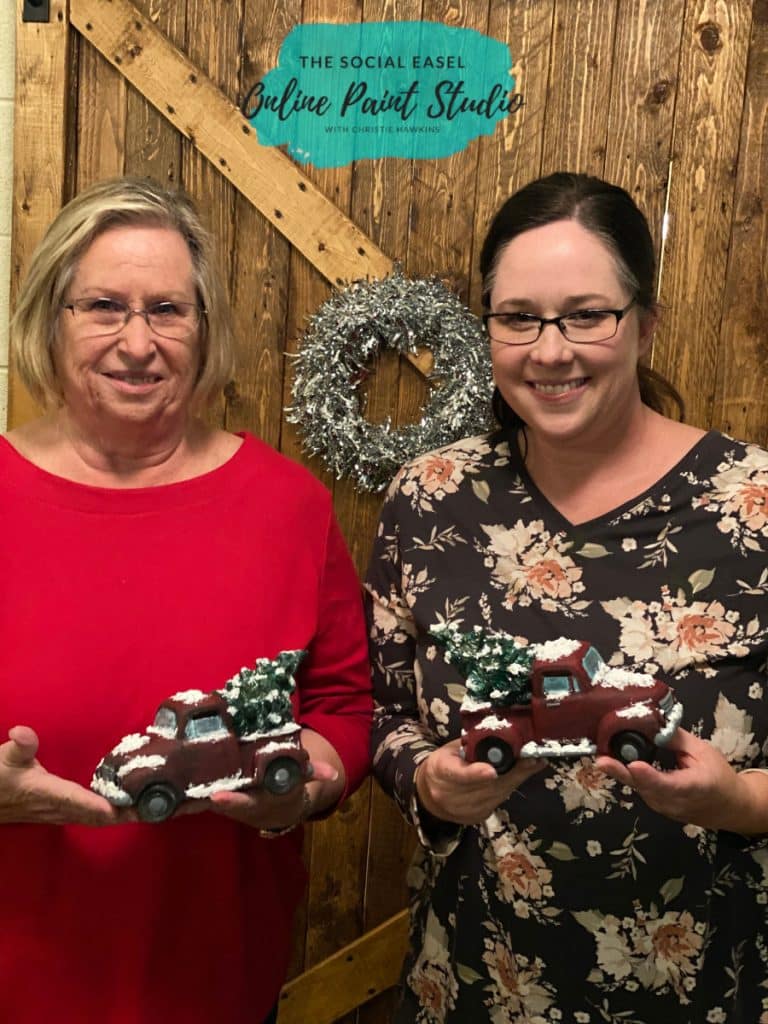
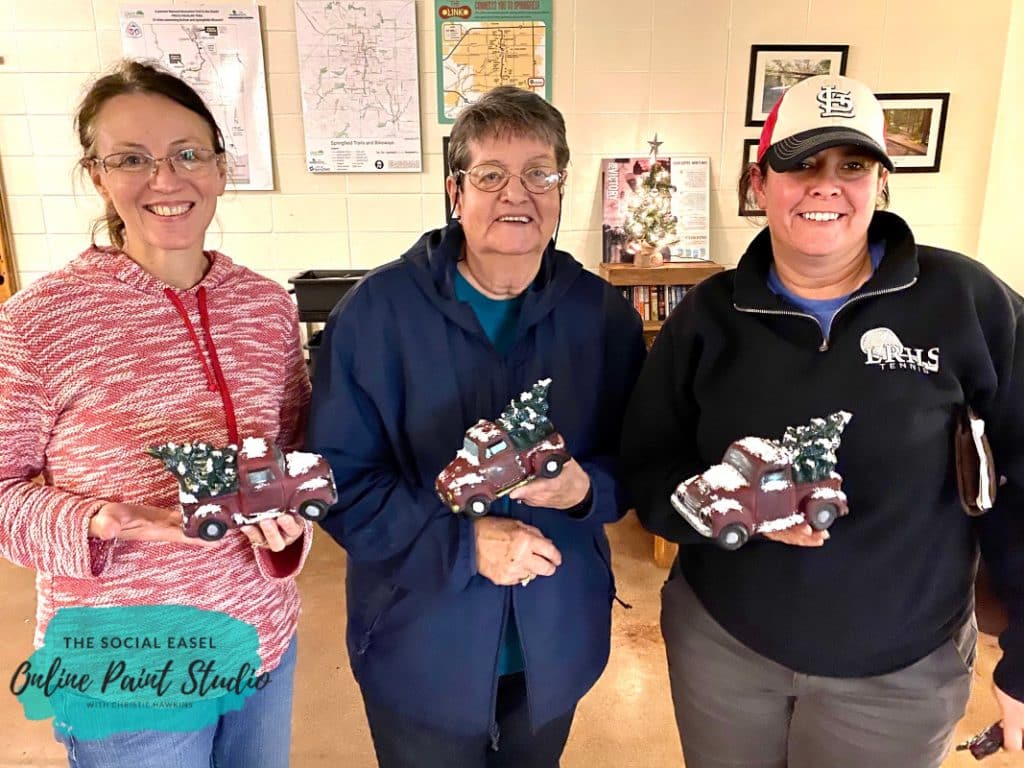
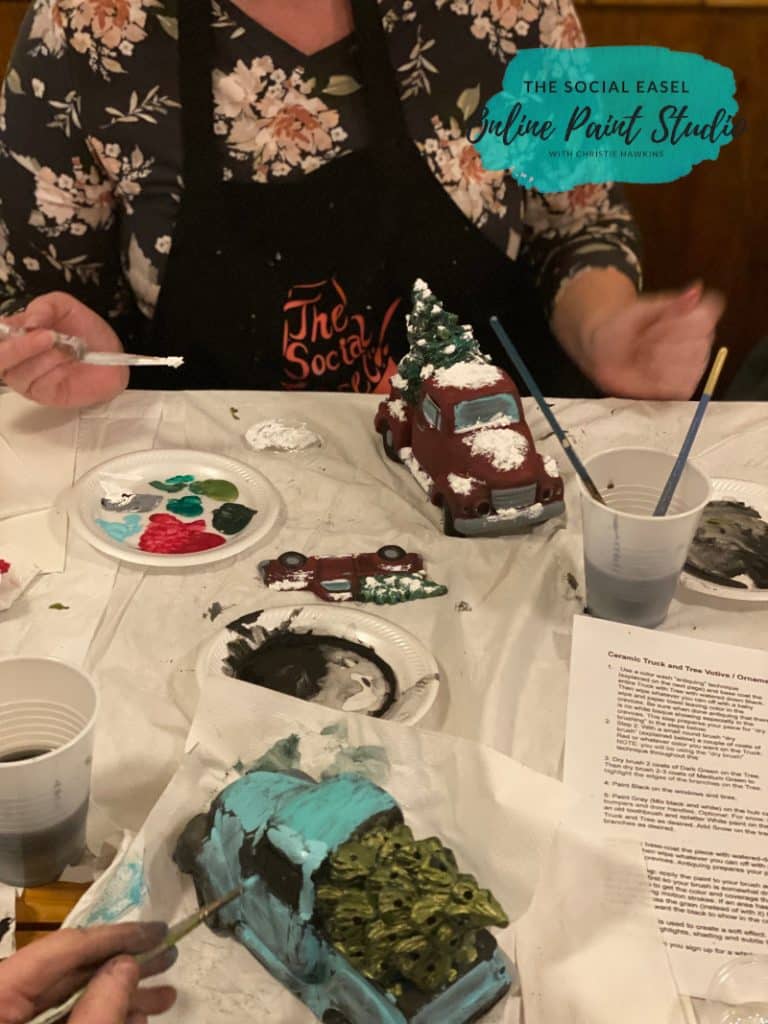
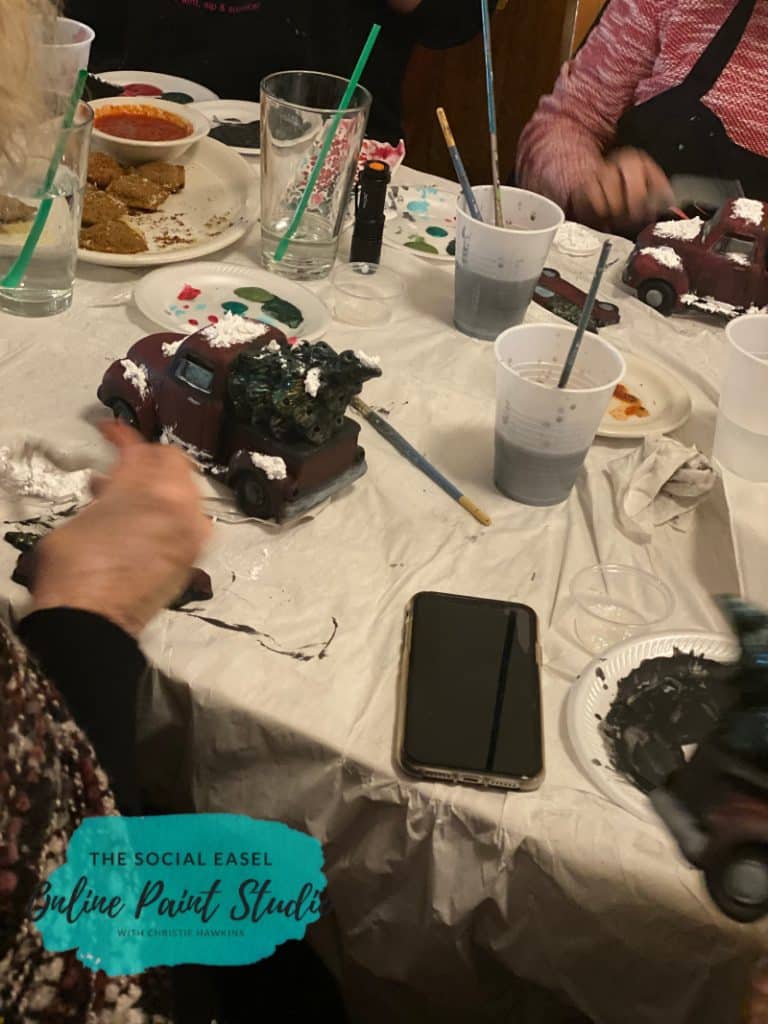
Here are some pictures of the ladies putting their base coats of red on their Ceramic Christmas Trucks!

The Christmas trees were one of my favorite parts of painting this piece because you could add so many different layers of green. We started with just a regular Dark Forest Green and then added some Metallics to it to give it some shimmer!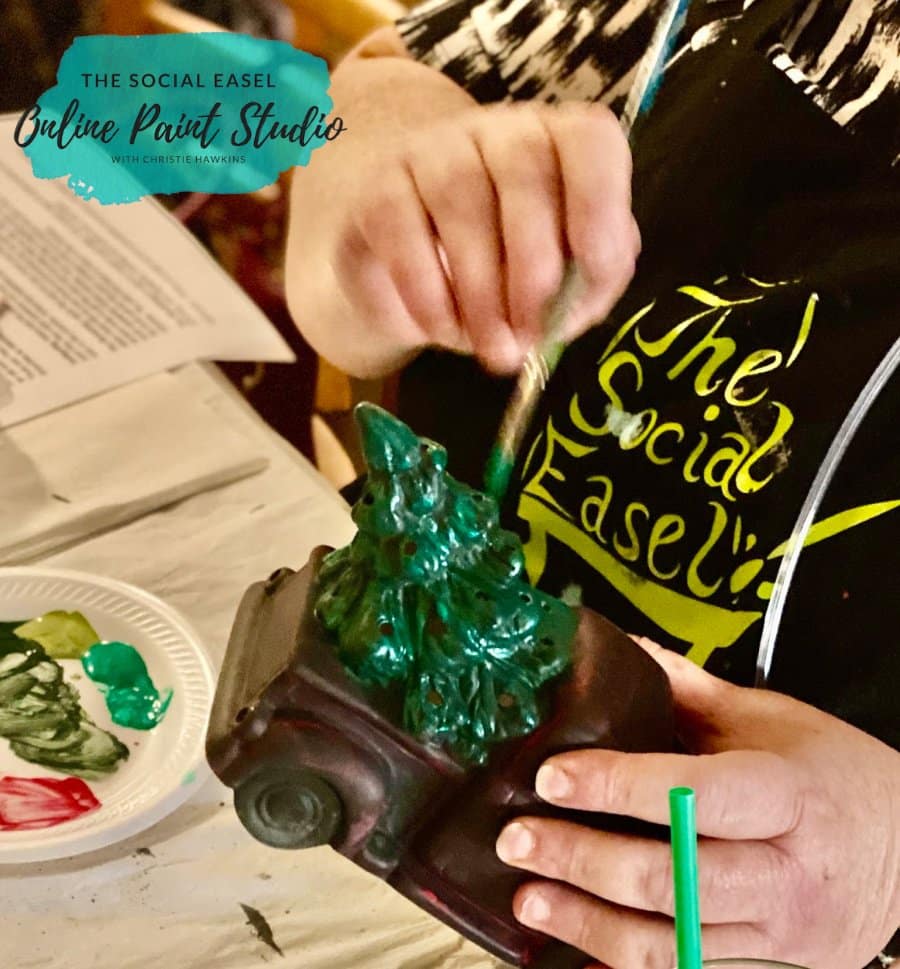
Here’s where it gets really fun! Adding the snow and the sparkles! First we covered our Christmas trees with Craft Twinkles glitter paint. This is my absolute favorite way to add glitter to any painting or project! It is one of my new must haves!
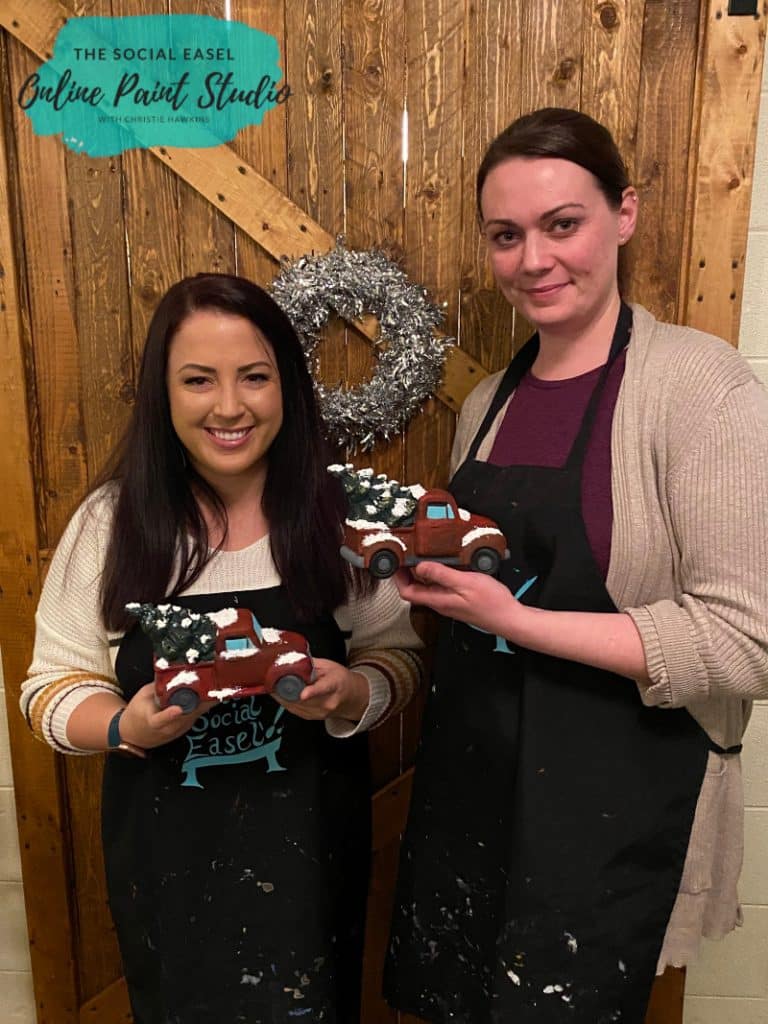
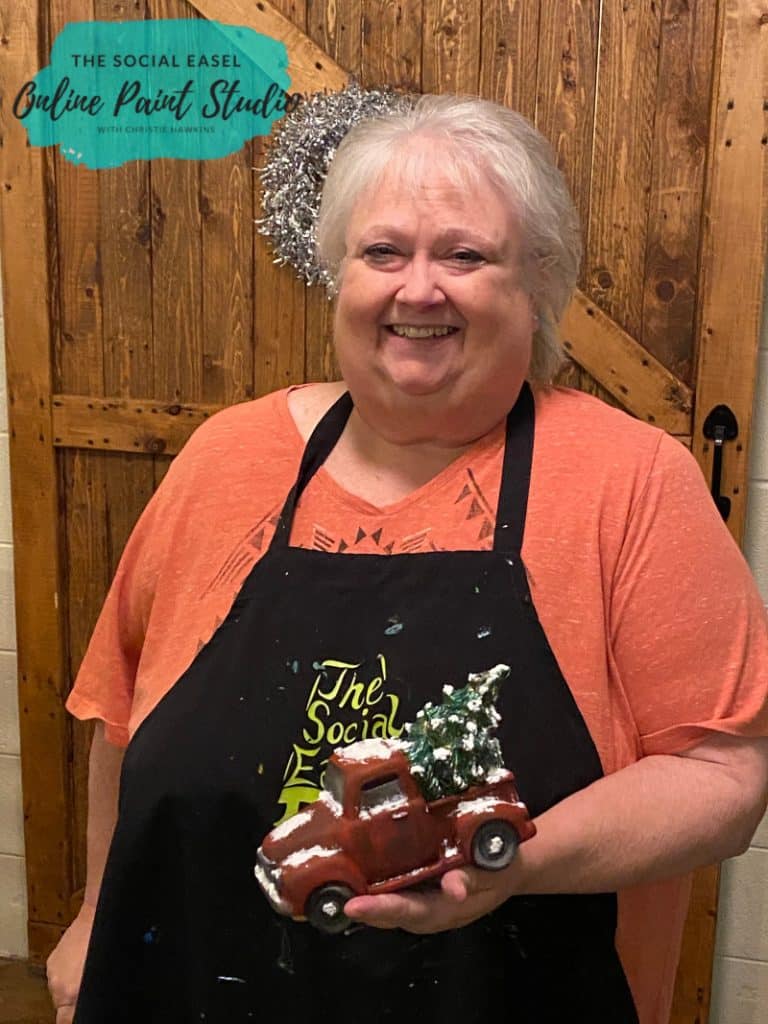
Once we added the glitter on, the next step was choosing whether you wanted to leave it rustic or put a gloss finish on. Below are examples of both of those finishes.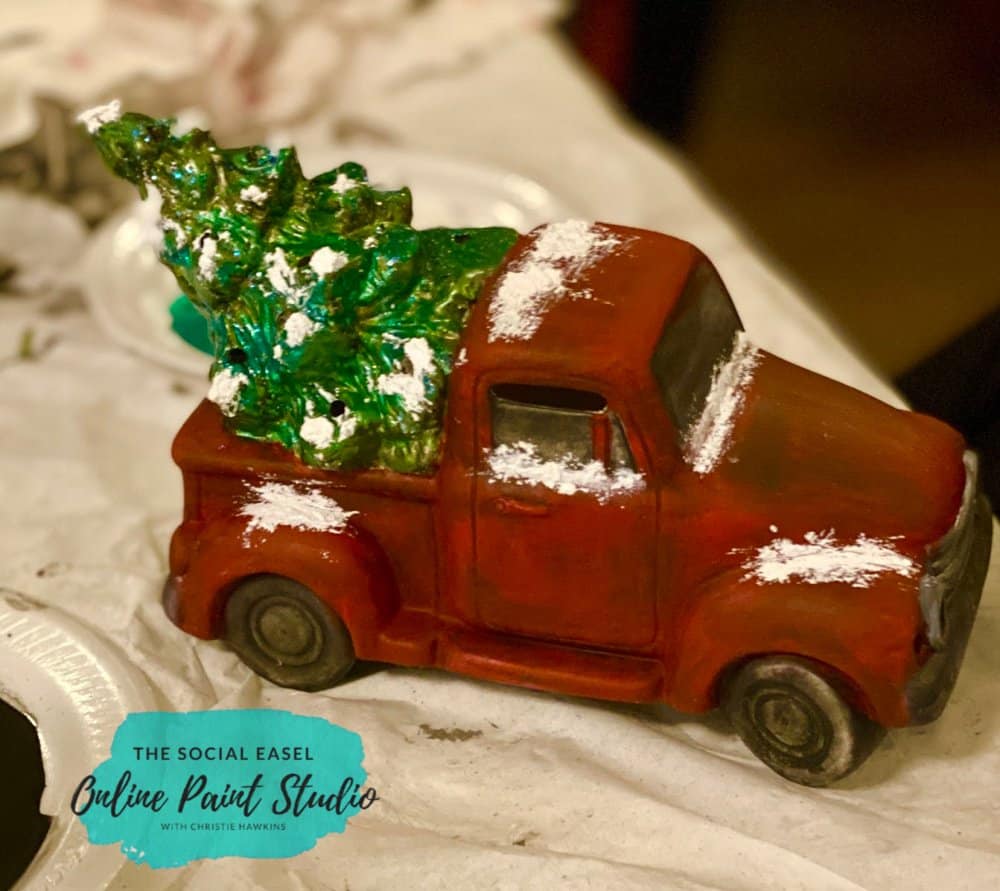

Both look awesome so it really comes down to your personal preference! We use Deco Art Americana Gloss Decoupage to add the shine to the gloss-finished truck pictured above.
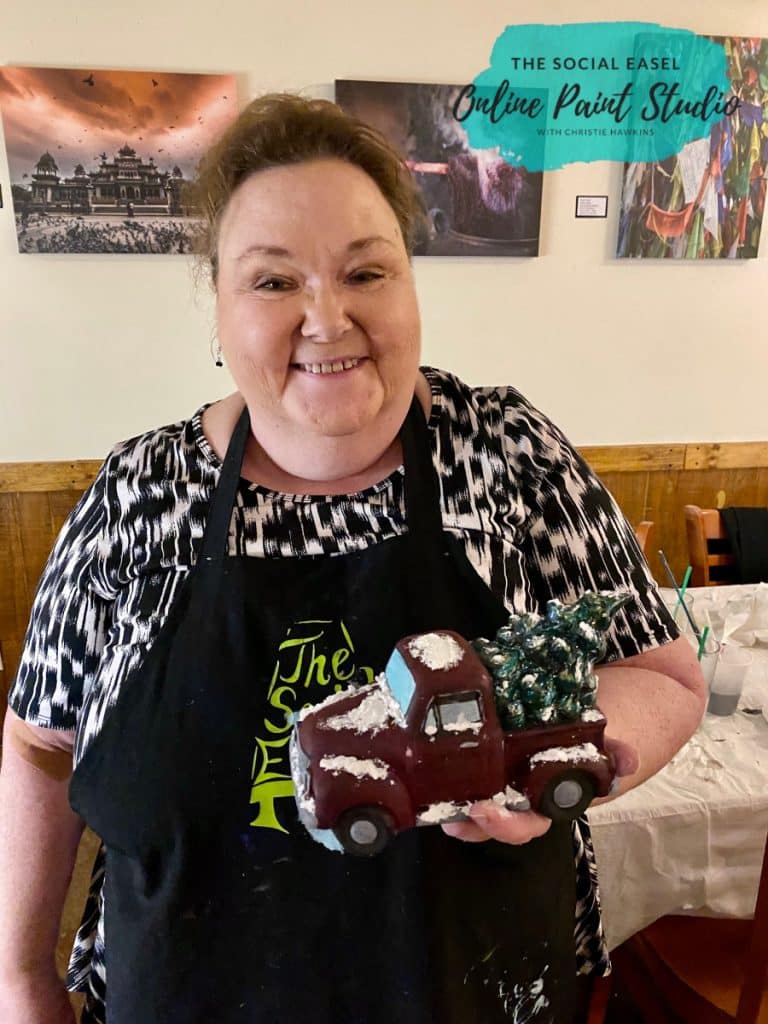
Let’s talk about our final step. Probably my favorite and everyone quickly fell in love with it! Snow-Tex by Deco Art is a cool 3-D element that you can add to paintings, ceramics, and more. It’s fluffy like snow and dries hard leaving a 3-D effect.

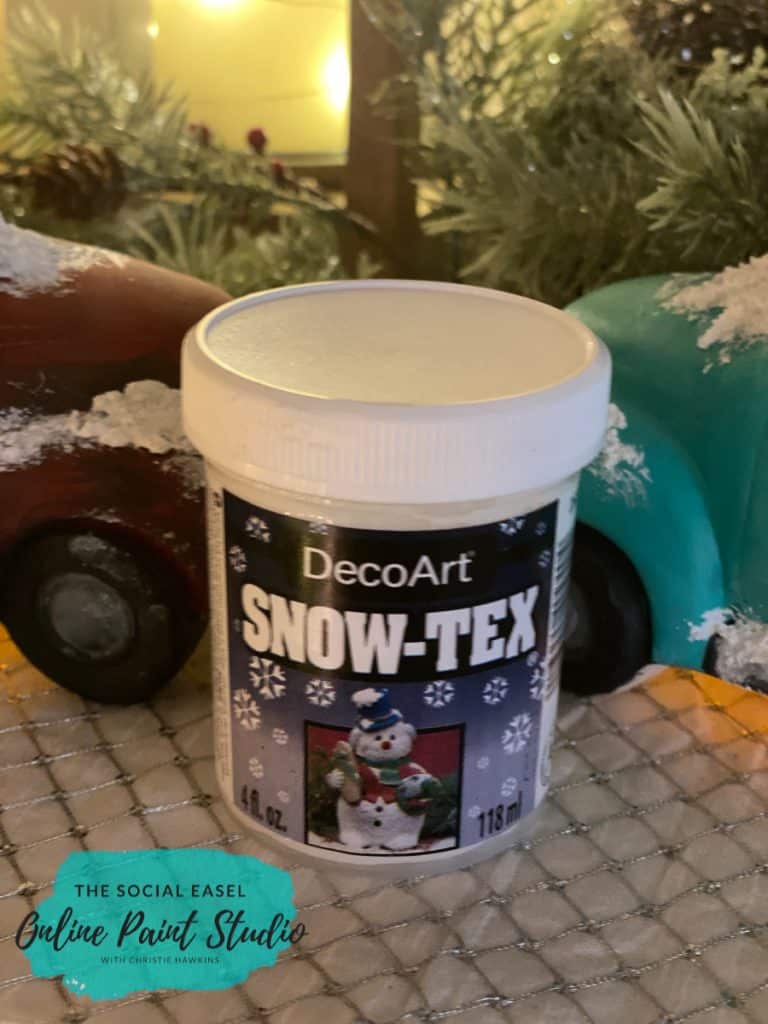

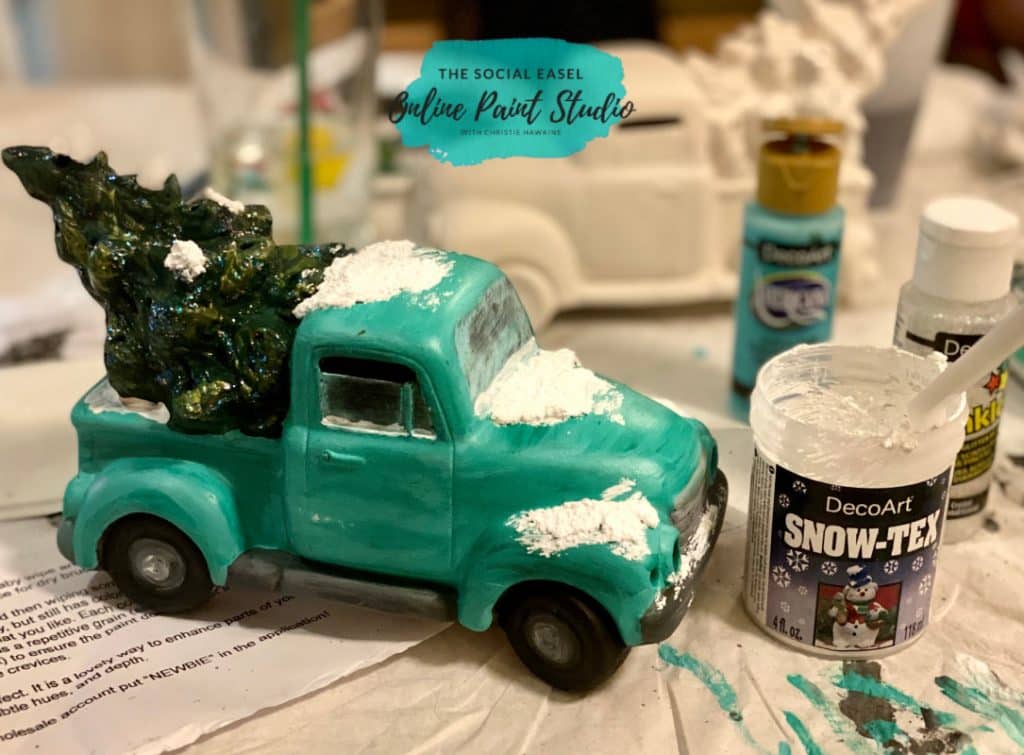
How cool is that!? I just love this stuff! The final pictures below is what it looks like with the tea light in and lit up.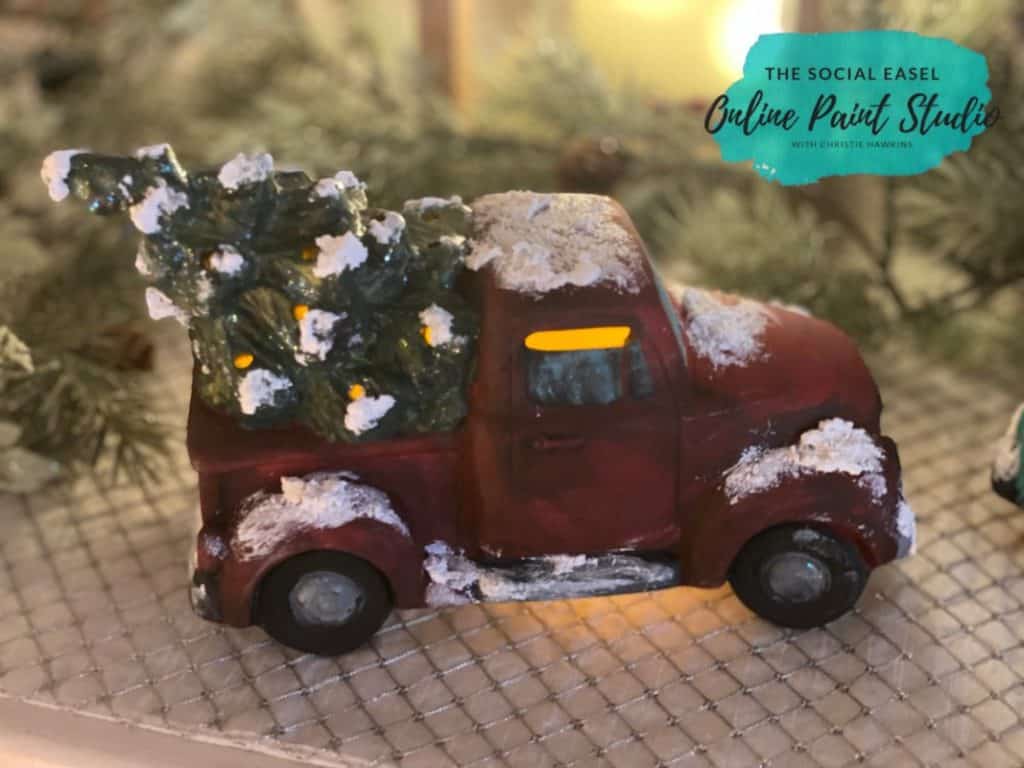

If you are looking for more fun holiday activities, I have so many fun Holiday Painting Tutorials here for you to try!
Painting ceramics is far less intimidating than I had thought it would be. You can use these products and steps on any unfinished ceramic project. I love this awesome Christmas decoration!
Stay creative!