DIY Farmhouse Christmas Countdown
The holiday season is in full swing, and we have already been counting down the days until Christmas! I wanted to make something that would help to keep track that was festive and simple to create, and I came up with a farmhouse Christmas countdown using chalkboard paint.
* This post may contain affiliate links. If you purchase, I could make a small commission at no charge to you. Please read my Disclaimer and Privacy Policy HERE.
This holiday countdown calendar is easy to customize to fit the decor of any room in your home. Today, I am using an 18×18 framed wood sign that Cory made me, but you can use anything!

Guess what?! Next week, we are going along with Cory to the shop, and he is going to give us all the details on how to make your own framed sign!
If you aren’t feeling handy, you can find similar wood signs available at Hobby Lobby or Michaels. Any style you like will be perfect. Just make sure the template will fit. And you don’t have to have a wood sign. This farmhouse Christmas countdown can be painted onto canvas or anything else you can think up.

I have created the “days until Christmas” template you can download HERE!
I will also show you how to make a faux stain out of acrylic paint for the wood frame and how to trace the words using a template!
Chalkboard Paint
Not to be confused with chalk paint, this Farmhouse Christmas Countdown will get a solid background painted with chalkboard paint so that you can countdown the days to Christmas easily.

The first step is to cover the whole painting surface is black chalkboard paint. If you have a framed sign, don’t paint it! Tape it off with painter’s tape, so you don’t get paint on it. We will “stain” that later.
It is best to layer the paint using thin coats that completely dry between coats to get a smoother finish. With the Valspar Chalkboard paint, I ended up using 3 coats.
Faux Wood Stain with Acrylic Paint
If you have a raw wood frame on your sign, this trick is for you! A quick and less expensive way to stain wood for small projects is to use acrylic paints!
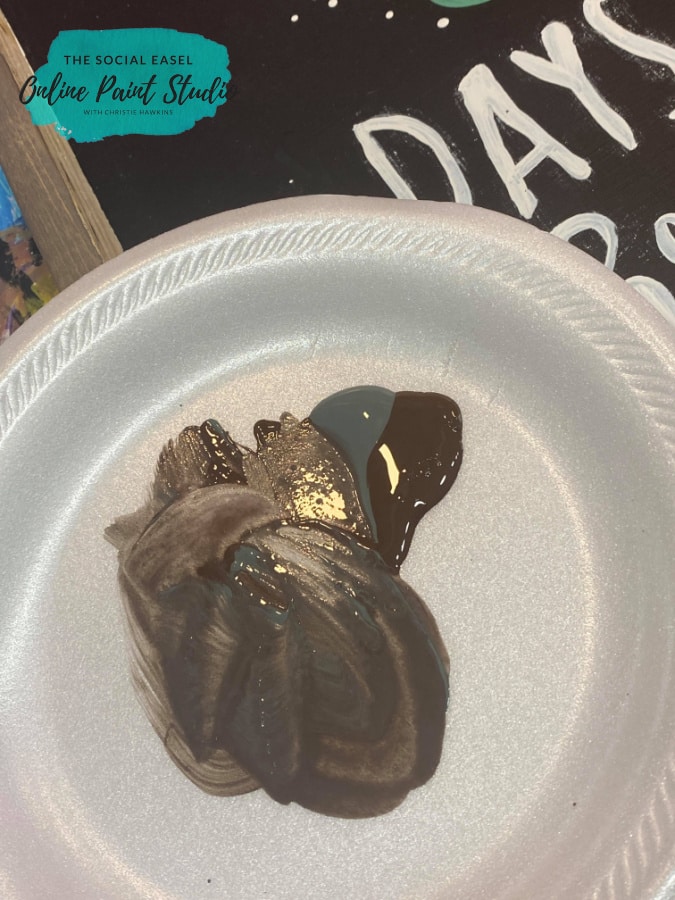
My sign will have a driftwood stained frame. To mix that faux stain color, use Deco Art Burnt Umber and Gray Storm to get the color you like, then water it down to a thin consistency.
Make sure you have paper towels or an old t-shirt handy and start painting your wood frame. I add a little more gray or brown in areas to get a variation in the wood tone.
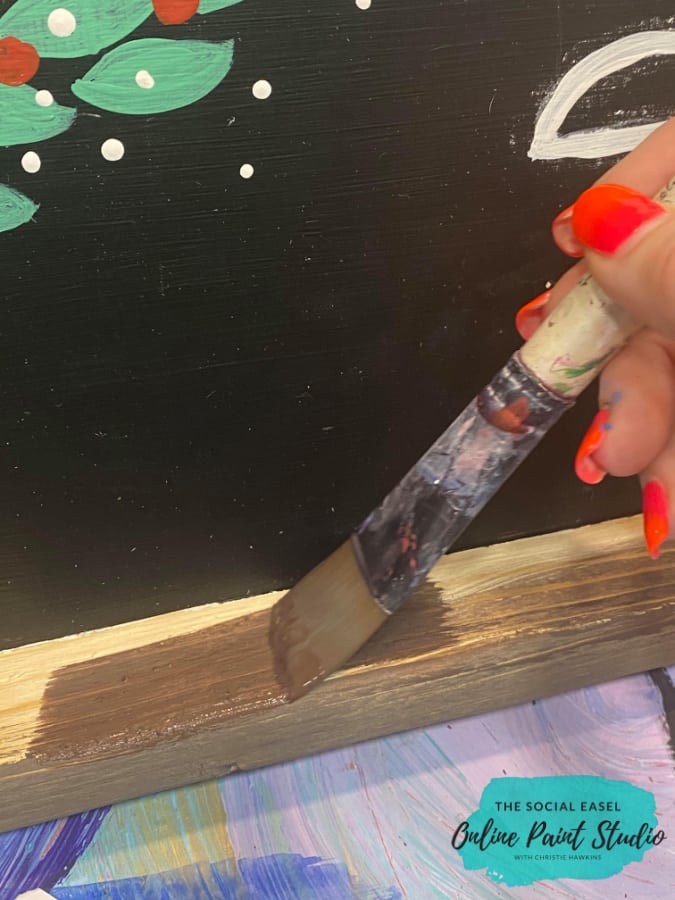
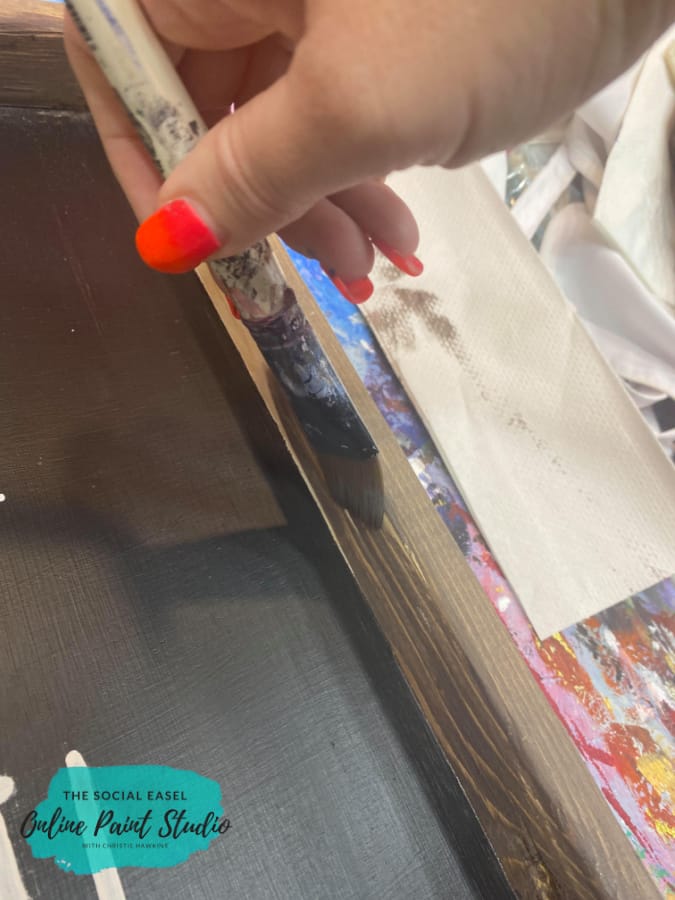
When it is still wet, wipe it off with a paper towel. Work in sections to keep a consistent look. This is your frame, so make it whatever color you like that will compliment your house.
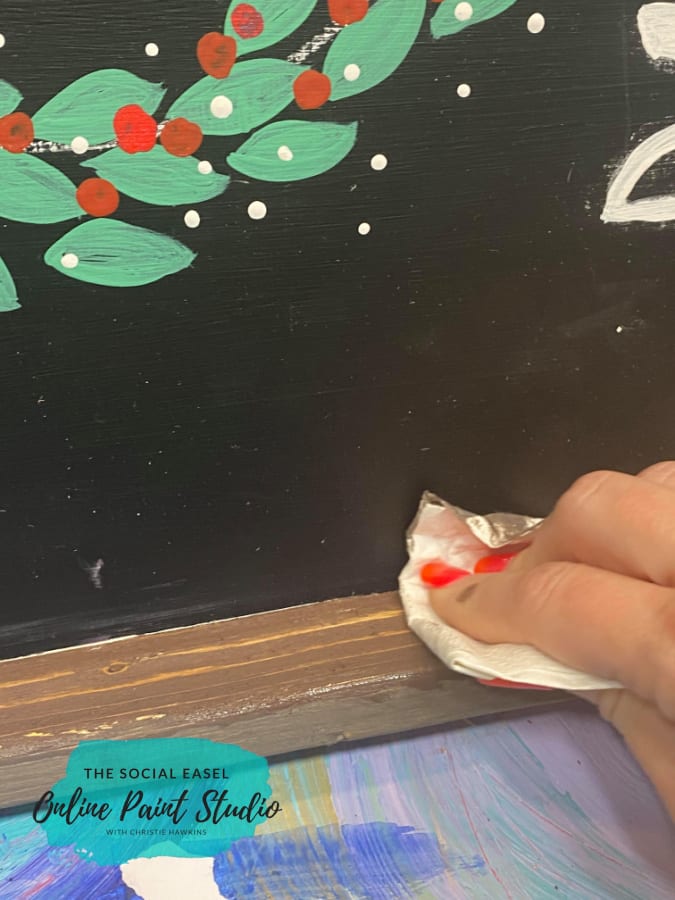
I love using acrylic paint that I have on hand, plus it’s such an easy cleanup compared to wood stain.
Trace The Template Onto Your Farmhouse Christmas Countdown
Now, on to the fun!
To stencil the words onto the sign, we first need to plan the layout. I line up the template near the bottom and leave myself enough room for the wreath at the top. A plastic plate was the perfect size for my wreath outline, just make sure to leave yourself enough space at the top to paint in your leaves.
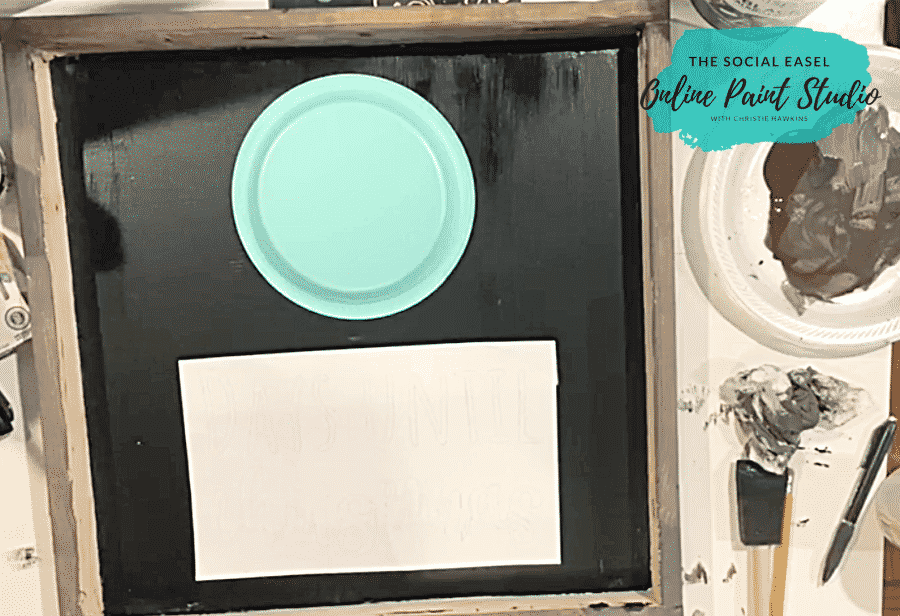
Once you have everything where you like, trace the word template and around the plate.
Don’t forget the “days until Christmas” template you can download HERE!
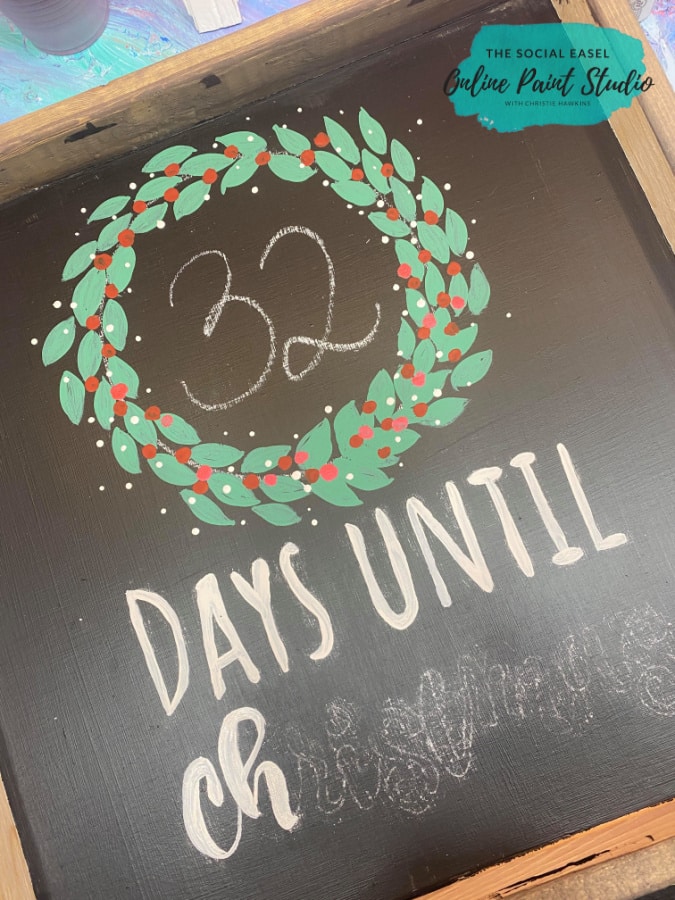
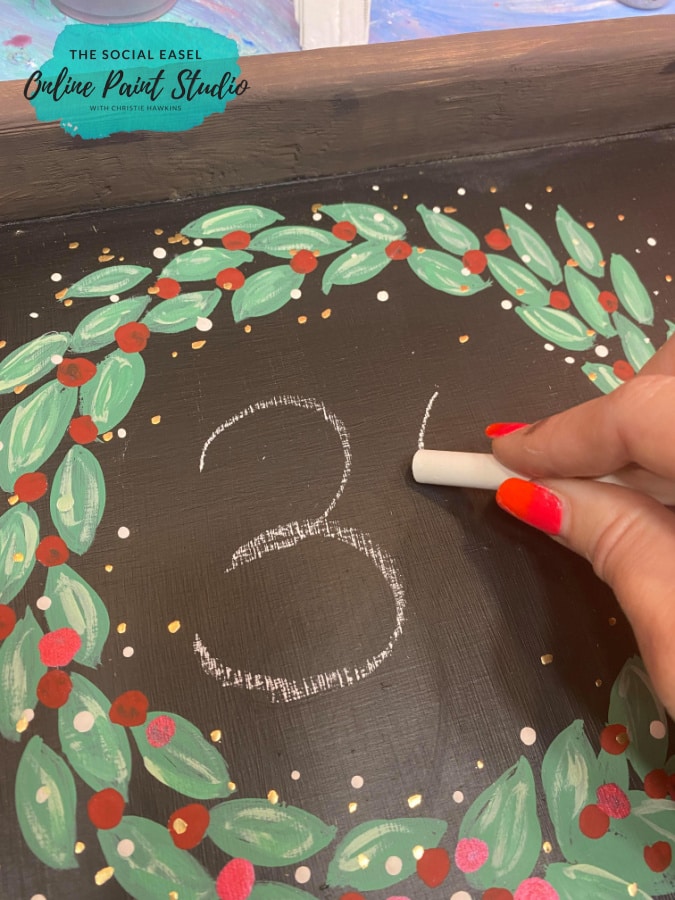
If you don’t have graphite paper for tracing, color some chalk on the backside of your template! When you flip it and trace over the words, it will transfer. Using chalk makes this easy to wipe away once everything is painted too!
Paint In Your Outline
If you can, using a thicker white paint to fill in the “days until Christmas” outline. Deco Art and Liquitex are more pigmented craft paints. I am using chalk mineral paint from an older project because it’s nice and opaque. If your paint is a little thin and translucent, that is ok. Just be patient and do thin layers.

With a small round brush, paint in your words. Try not to apply any pressure so you have full control of how thin your line is. The more pressure you use, the fatter the line will be.
If hand painting this has you on edge, another option would be to use a white paint pen!
Painting The Holiday Wreath
For the wreath on our farmhouse Christmas countdown, I used Deco Art Eucalyptus Leaf because I love how it pops off of the black. I want you to use the colors that you like and match your home. There are so many different shades of green and red to choose from!

Using the round traced line as your guide, start with a small round brush and green to paint your leaves. With light strokes, make small almond-shaped leaves angled toward the circle.
It’s like making two curved lines facing each other and then filling them in.
Decide how you want the leaves to be spaced. You can do a single row of leaves or add more along the outside to make the wreath more fluffy.
Rotating the painting surface makes it easier to paint all the leaves. It helps keep the leaves uniform, facing the right direction and prevents dragging your sleeve in wet paint.

When you watch my video below from when I painted this LIVE on my FREE FB group, you will see how my leaves changed as I went around and how I adjusted a few leaves to make the “seam” look smooth.
One thing I like to do with all my paintings is to take a snapshot while I am working. When you look at the photo, it helps you to see the work with a different view and check the composition. Painting is a process. Make adjustments as you go!
Add Red Berries
Once all of the leaves are painted, add berries.
With a small round brush, use your favorite red paint and paint little round berries.

I was a little worried about my leaves, to be honest. But like I say all the time, I also have to trust the process! The addition of the berries makes it all come together.
I found a new metallic red paint I just had to use! For an extra punch, I add even more berries to my wreath with the shimmery paint.
Finishing Details
For the little white dots, use the back of the handle on your paintbrush! Just dip it into white paint and sporadically place the spots. I love the contrast that this gives.
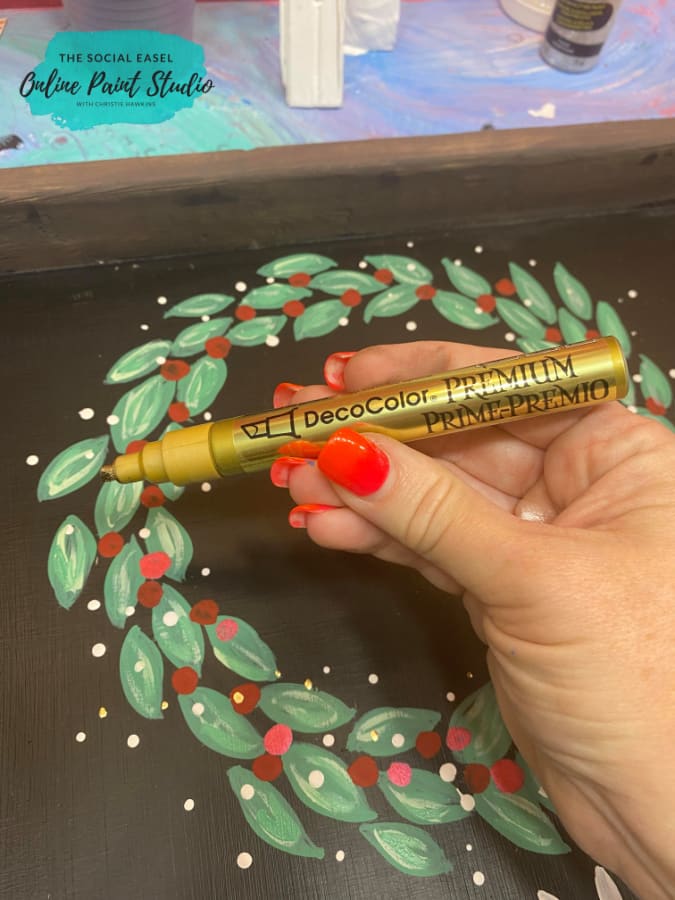
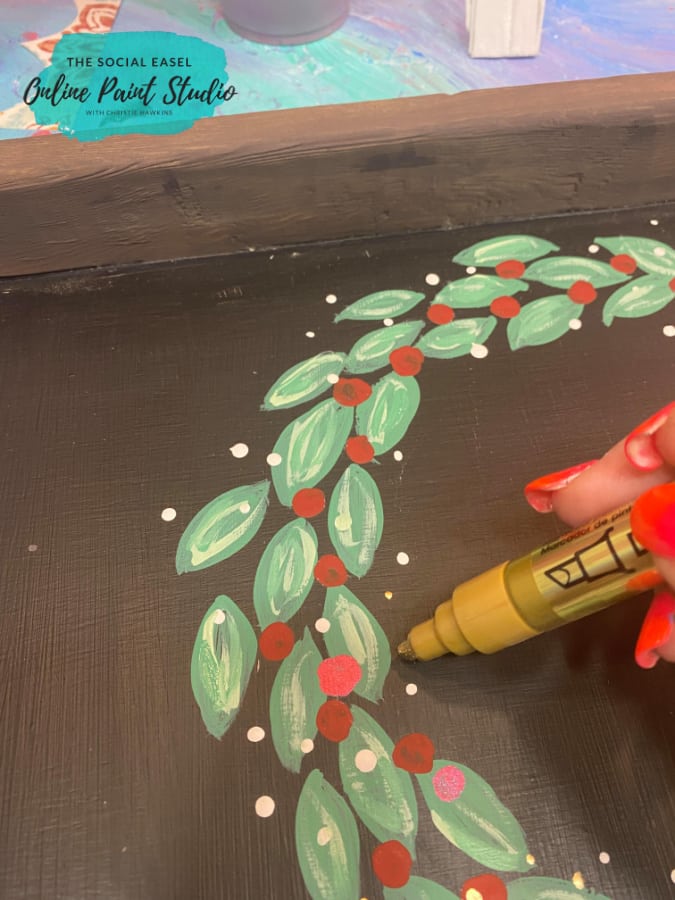
And because you know I can’t resist gold… I used my favorite gold paint pen to had a little glimmer to this farmhouse Christmas countdown with more tiny polka dots.
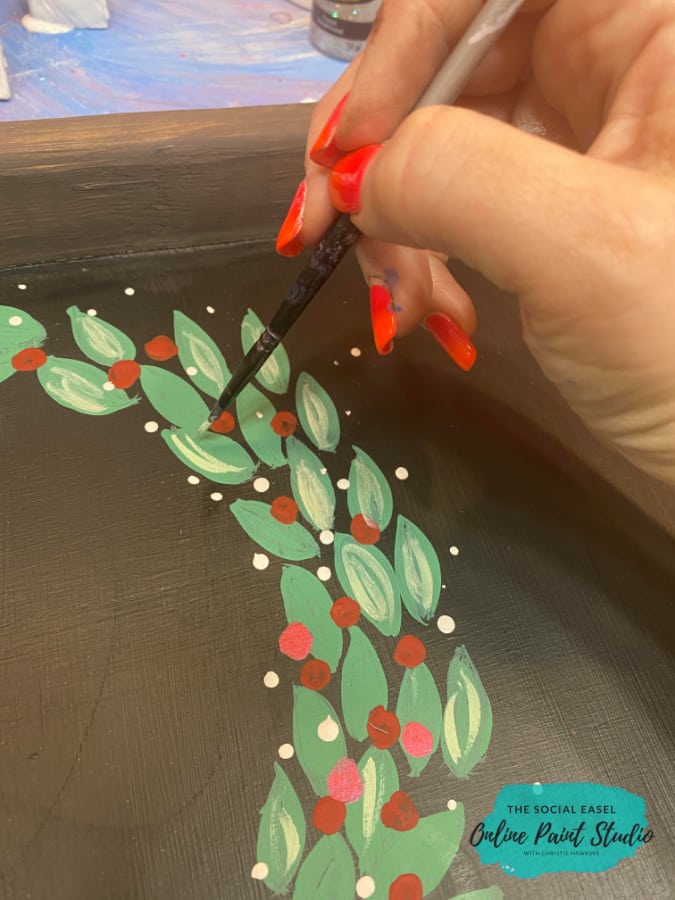
Then, mix a little white in with your green paint to make a lighter color. Brush a few strokes through your leaves to add highlights and dimension.
Watch My Farmhouse Christmas Countdown Tutorial!
I have been updating all my decor for the new season but am using all the same techniques to decorate using all my favorite acrylic paintings. You can see how to incorporate artwork into your decor HERE.

I just love the way this turned out and can not wait to use it for many years to come.


